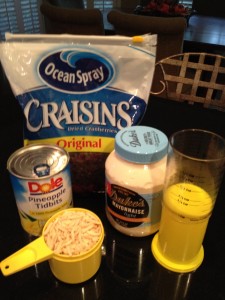
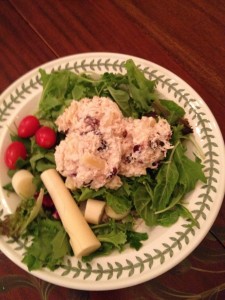
I have been making this chicken salad for many, many years. I am so happy to share it with you. It is simple to make and oh so delicious. I like serving it on a bed of mixed lettuce with hearts of palm, tomatoes, boiled eggs, chunks of cheese or whatever I have in the fridge. As you can see, from the picture I didn’t have much in the fridge this day. This is one of the favorite recipes of the Apples of Gold Ministry. It is my go to recipe for serving at a ladies luncheon, any kind of shower, picnic or going to an outdoor concert. As a salad, with all the yummy sides I like to box it in a to go box for outdoor concerts. It is a good way to take a whole meal in one container and you can easily pack it in a cooler. Take along some crusty bread and some of your favorite dressing for the lettuce. My favorite to serve with it is homemade Italian dressing. Then all you need is a dessert that is easy to transport. You might try my Graham Cracker Cookies. I am so glad warm weather is finally here. We had a hard winter in Atlanta. But with the warm, sunny days we are all thinking of out door dining and we have lots of great outdoor concerts locally. Can’t wait to make this meal and go. Who can you invite for a picnic or maybe just take over a big bowl of chicken salad to a friends house? Spread some Joy with Cissy’s Chicken Salad. Enjoy!!!
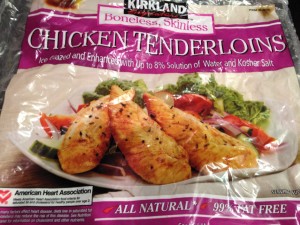
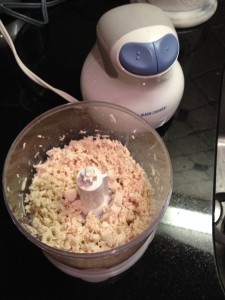
I like chicken tenderloins, they are easy to cook and then chop in Small Food Processor
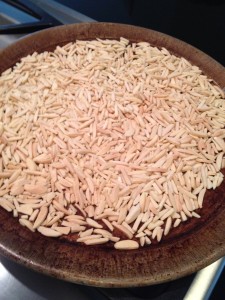
Slivered almonds that have roasted at 350 degrees for 10 minutes. Brings out the flavor of the nuts.
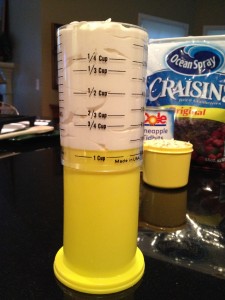
Must Have Measuring Cup that makes measuring mayo, honey anything sticky easy. Just PLOP out.
2cupschicken (3 breasts or one 2 lb. bag frozen chicken tenderloins) cooked and finely chopped
18 oz canpineapple tidbits, drain off 1/4 of the juice. Use remaining 3/4 in the recipe
1/2cupmayonnaise (My favorite is Duke's, light or regular)
1cupsliced almonds of slivered almonds(I like to toast them at 350 degrees for 6 to 8 minutes) Careful they burn quickly.
1 cupdried cranberries (optional)
Method
Boil chicken till it test to 180 degrees or boil chicken for 5 minutes turn off and cover with lid. Let set for 20 minutes. This is a good way to cook chicken that will not overcook it or dry it out..
Use small food processor to chop chicken or finely chop by hand.
Combine chopped chicken and remaining ingredients in a large bowl; stir well. Salt to taste
Serve as a sandwich or over a bed of lettuce with your favorite salad items.
Notes
I like to roast the nuts to bring out their flavor. You can also use pecans or walnuts.Cool chicken salad to bring out the flavors.Make it your own by adding some of these suggestions.1/2 cup finely chopped celery1/2 teaspoon curry powder along with 1 teaspoon lemon juice1 tablespoon dried tarragon for a completely different flavorI would not use curry and tarragon together. As you can see this is a good basic Chicken Salad recipe for you to start with and then add what your your family would like. Be creative.It will be “The Best You Ever Made” Enjoy
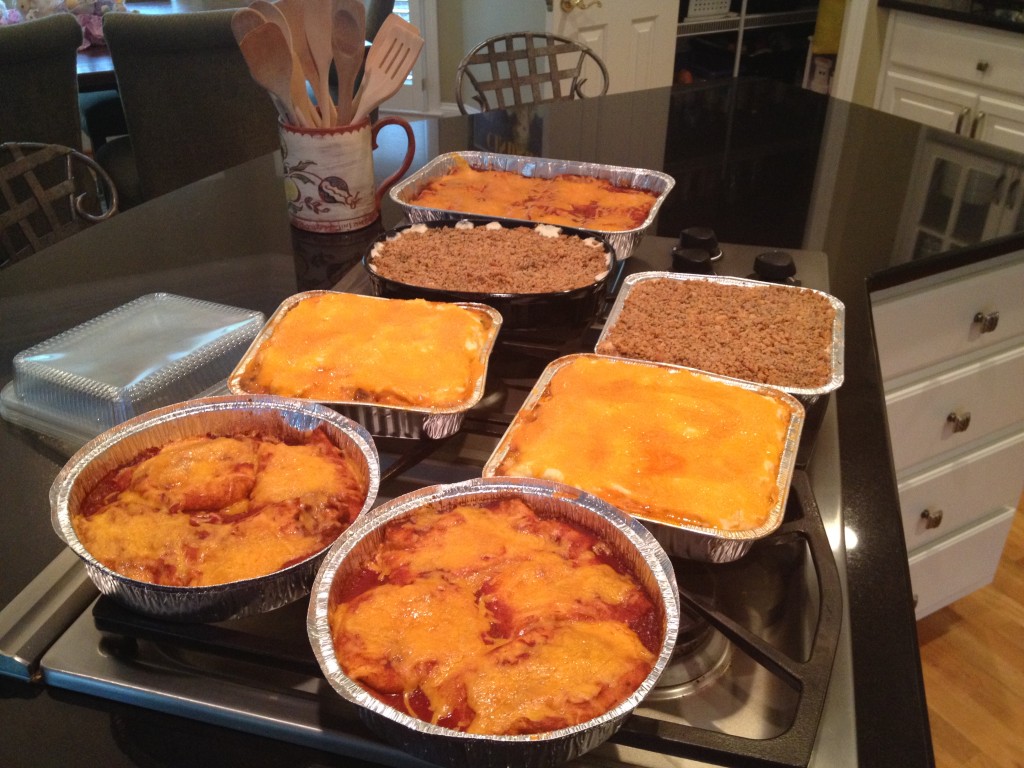
Here I go again with another casserole. Maybe I should rename my blog site to “Casseroles for you and me”. I can’t help it. Having a casserole in the freezer makes me a “happy gal”. I don’t have to worry “what’s for dinner”. This is one of my go to casseroles. It is so easy and kids to adults love it. I’ll bet you will be like me and want to eat all the topping, right out of the bowl. Yum!!! Make one tonight, but you know me, make two or three – one for your family, one for the freezer and one to share. The picture below shows an afternoon of cooking I did last week. My nephew and his sweet wife had a new baby boy, Maddox. So, since what I do is cook, I made casseroles. Now, when they are tired and no one is bringing dinner, they can pop one in the oven and dinner is ready. The great thing about making casseroles and delivering them frozen is that you can cook on your time schedule and they can heat and enjoy them on their time schedule. Easy for all. Who do you know that you can share the joy of “dinner is ready” with a casserole for their freezer or dinner that night? Be a Blessing!
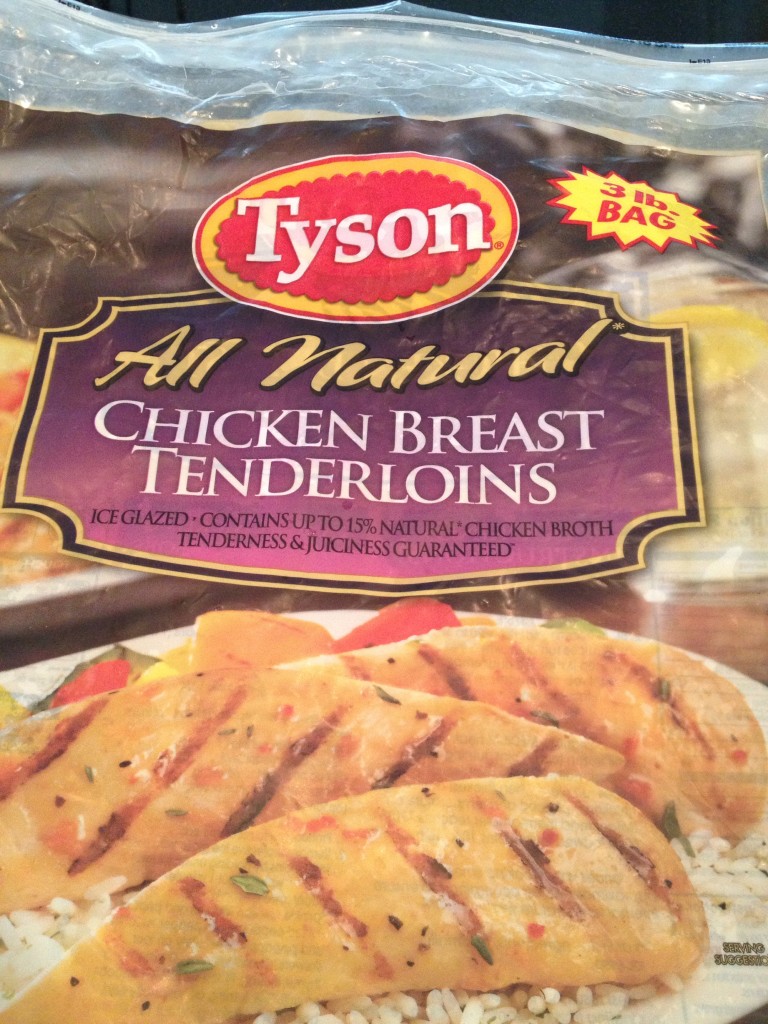
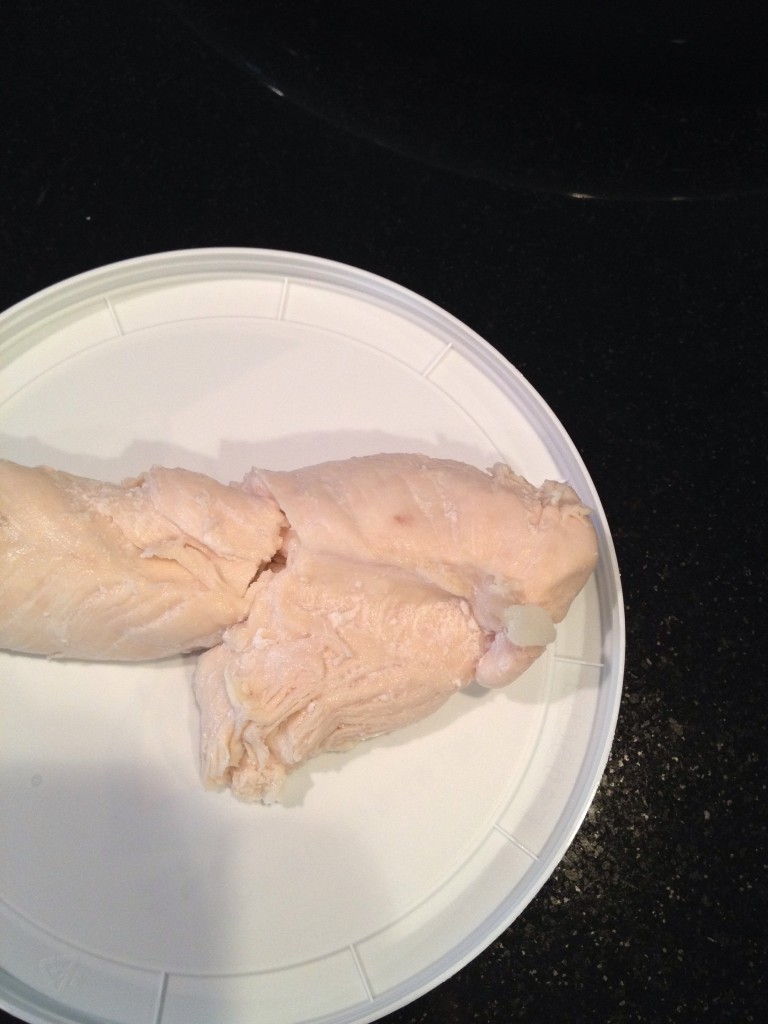
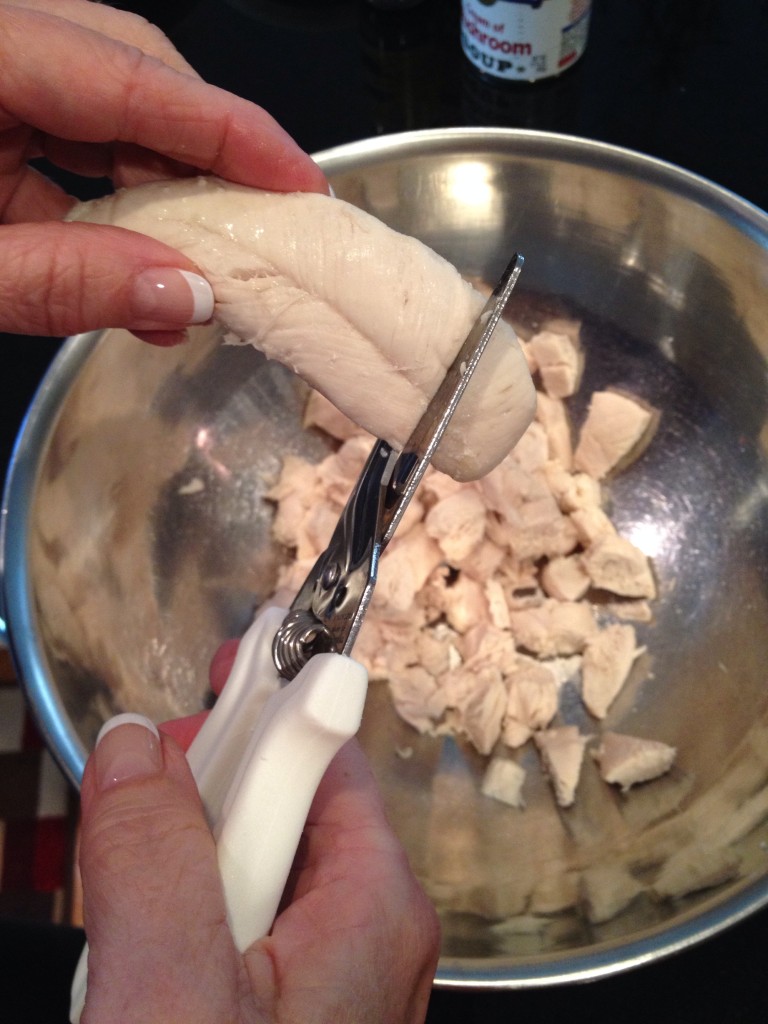
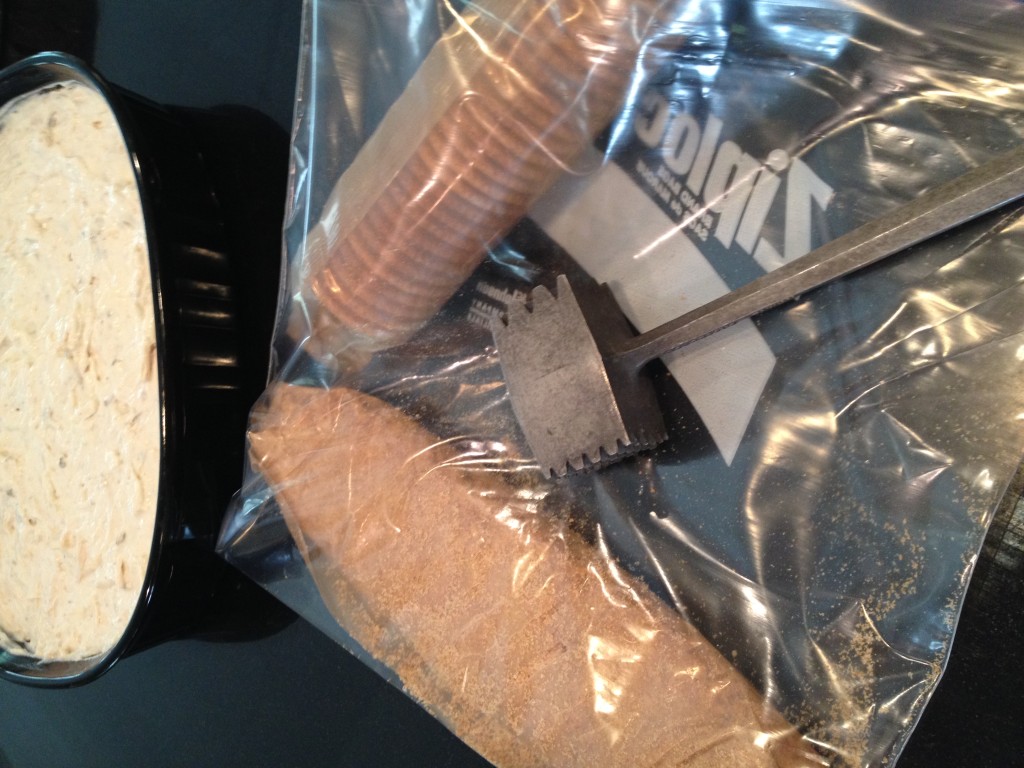
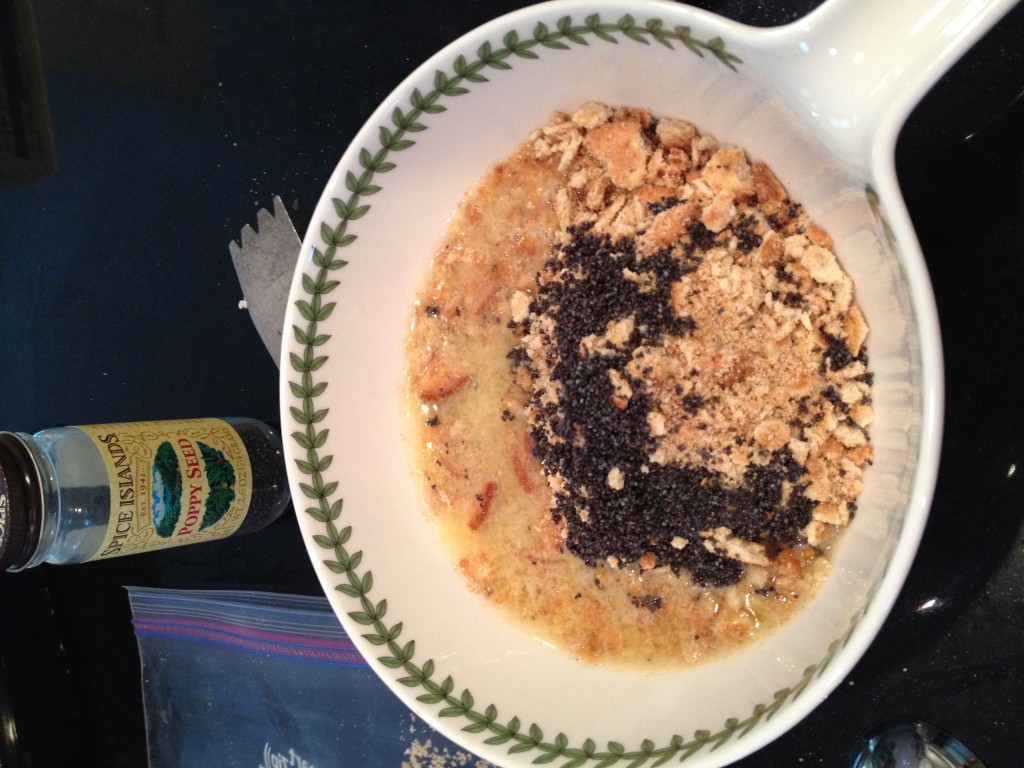
I like using Frozen Chicken TenderloinsMake sure to remove the tendons from the chicken tenderloins Cut cooked chicken into cubes with Kitchen Shears.Sleeves of crackers in plastic bag. Use mallet to crush.Butter, crushed crackers and poppy seeds ready to mix together.
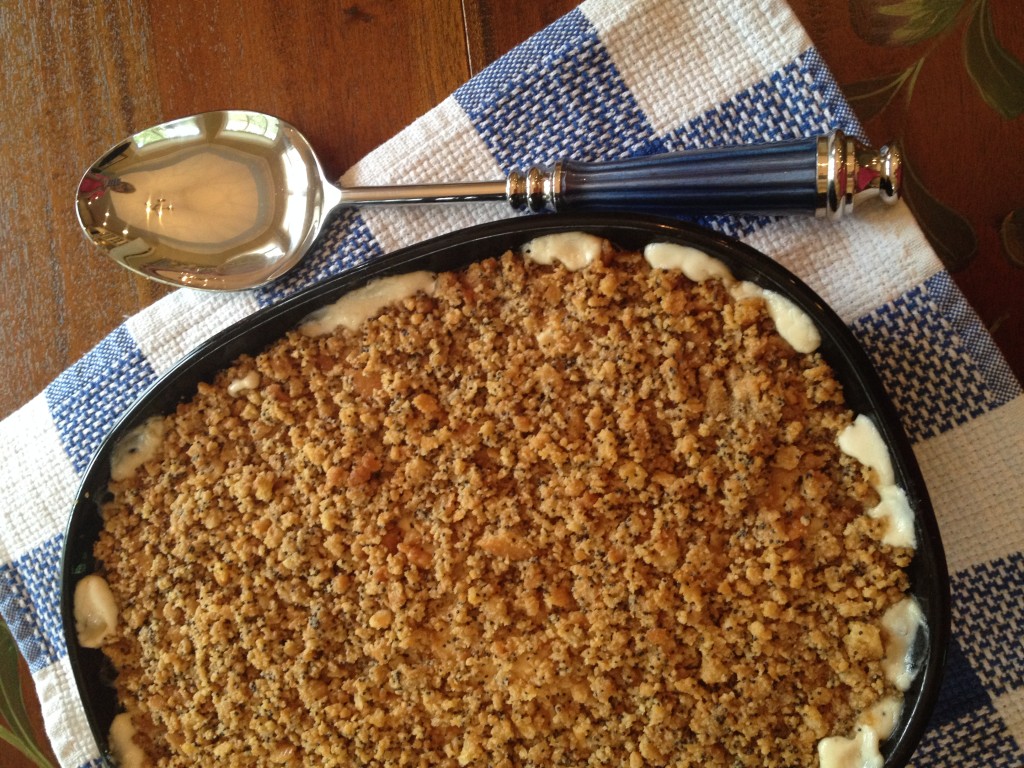
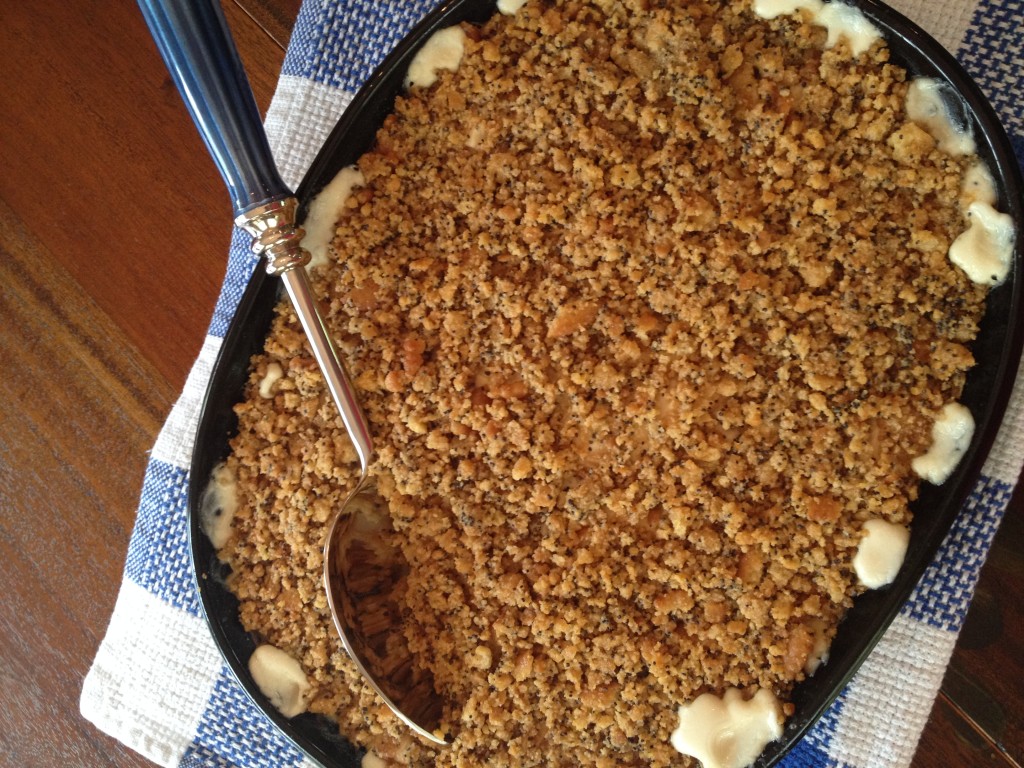
Cooked all bubbly and ready to serve and enjoy. “The Best I Ever Made”
Poppy Seed Chicken
Delicious chicken casserole with a buttery, cracker topping
4chicken breasts or 1- 2 lb. bag frozen chicken tenders
1canmushroom soup
1 8 ozsour cream
1stickRitz Cracker or Club Crackers, crumbled
1tablespoonpoppy seeds
1stickbutter salted
Method
Boil chicken. Remove skin, debone, and cut up.
Mix soup, sour cream and chicken.
Pour into casserole dish.
Mix crackers, poppy seeds and melted butter.
Spread over chicken.
Bake in preheated oven 350 degrees till hot and bubbly around 45 minutes to 1 hour.
Notes
I like to make 2 small 8X8 pans sometimes instead of 1 larger casserole. To Freeze: Place in freezer safe container. Make sure to cool completely before freezing.To Serve: Thaw and bake uncovered at 350 degrees till hot and bubbly around 45 minutes to 1 hour.May be cooked frozen, add extra time. Tidbit Tip: To cool casserole quicker before freezing, place lightly covered casserole in refrigerator or the freezer. Once cool wrap tightly and freeze. It freezes great. Yum, Yum. Enjoy
Are you seeing Quinoa everywhere you look in recipes? I have found I really like it in lots of dishes served hot or cold. This recipe excites me because by adding quinoa and lots of nuts you increase the protein in the granola. I love eating this granola on cereal, especially ones that are mostly carbs and no protein and my favorite way is on yogurt or ricotta cheese with fresh berries. It also makes a great gift packaged in glass jars. It is so much better than the stuff you buy in the stores, most of those have more sugar than a candy bar, and of course no preservatives in this recipe. You will never buy granola again and making your own is so much cheaper and it is extremely easy to make and you control the ingredients. You can use this recipe as a starting place for your own special blend of granola filled with things your family will love. Use any kind of nuts, peanuts or seeds and then after cooling add any kind of dried fruit. The choice is yours. And by adding the quinoa you really have a nutritious granola.
Quinoa is an ancient grain and 2013 was recognized as “The International Year of Quinoa”. Most quinoa consumed in the US comes from South America and there are various colors with tri-color is also available. The protein in quinoa is a complete protein source including all the essential amino acids. It is also gluten-free.
It is typically consumed in the same way as the cereal grasses like wheat, oats, barley and rye, however, quinoa in not a cereal grass at all but in the same food family of spinach, swiss chard and beets. Who Knew??? It is considered a “Pseudo-cereal”.
If stored in a tight container in the refrigerator it will last 3 to 6 months.
I hope you will bake up a batch of this “can’t stop eating it” granola for your family and some toshare with your friends. A side benefit is the aroma that will fill your house. Bet it will not last long!!! It is “The Best I Ever Made”
Please leave a comment, I would love to know how you made yours “Your Own”.
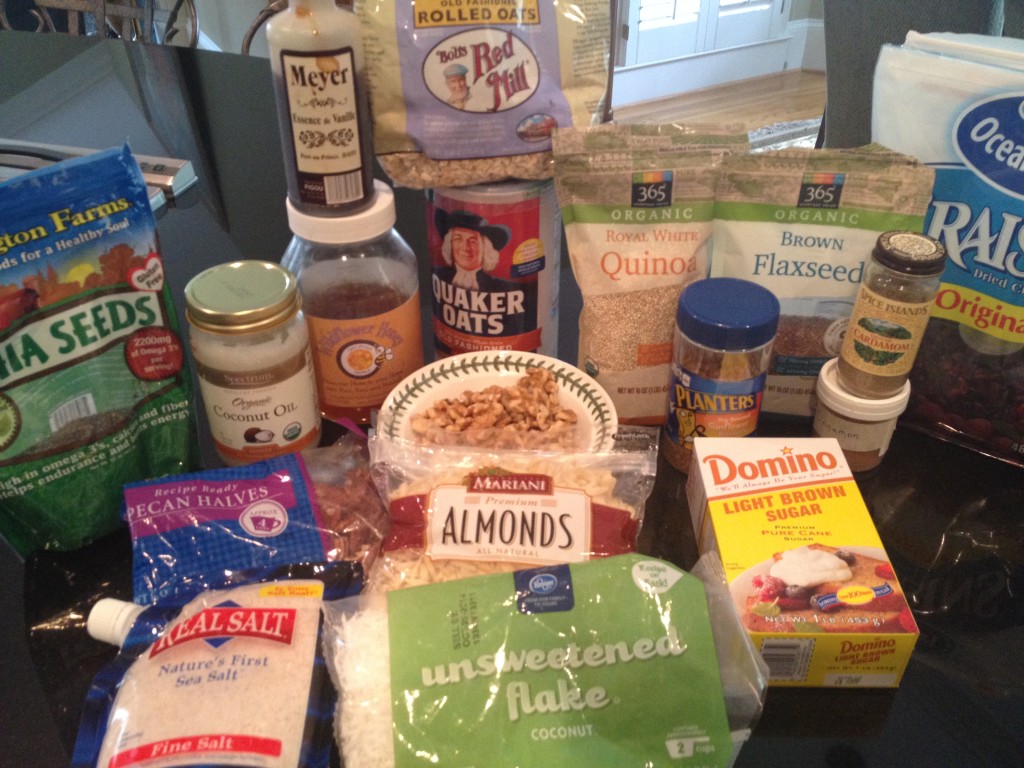
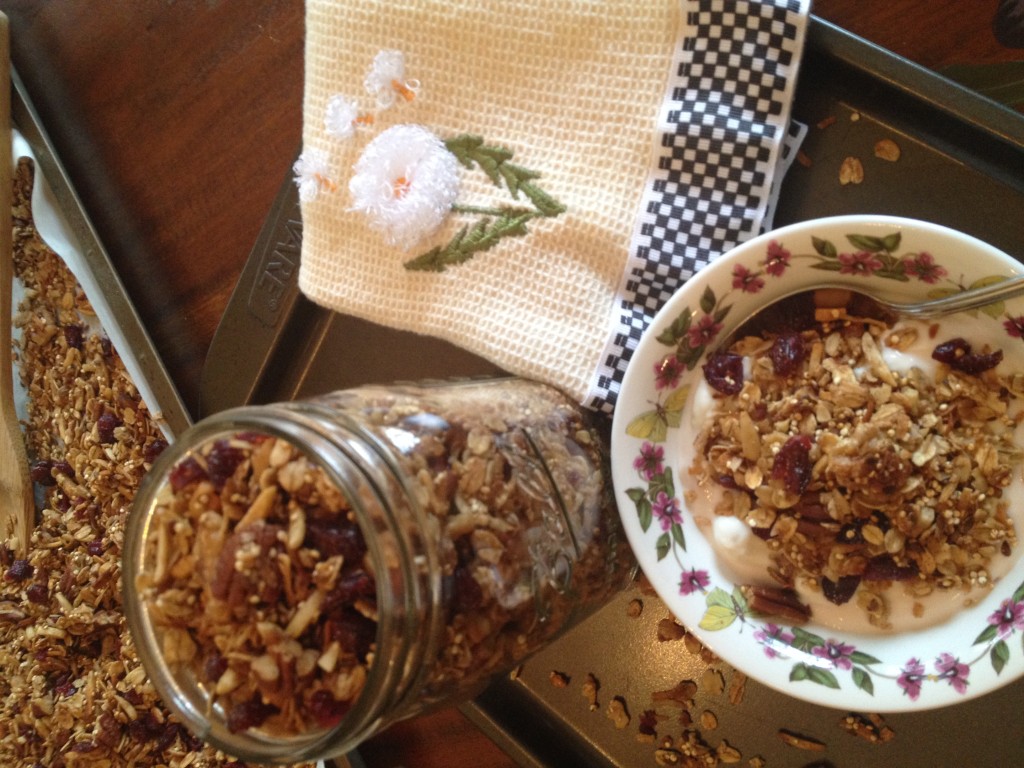
Ingredients for Granola My Favorite way to enjoy Granola – over yogurt. and a jar to share!
Coconut Quinoa Granola with Nuts
Basic Granola Recipe where you can add what ingredients you like. Quinoa adds protein.
3cupsold fashioned oats,Use gluten free oats for a gluten free granola
1cupuncooked Quinoa,Can leave it out, but increase oats by 1/2 cup.
1cupslivered almonds,Use any nuts you like
1/2cupwalnuts
1/2cuppecans
1/4cupflax seeds
1/4cupdry roasted sunflower kernels
1cupshredded coconut,Sweet or unsweetened
1teaspoonsalt
2 teaspoonscinnamon
1 1/2 teaspoonscardamon,optional but adds a really nice flavor
1/4cupcoconut oil
1/4cuphoney
1/4cupmaple syrup,you can use 1/2 cup honey and no syrup
1teaspoonvanilla
1/4 cupbrown sugar
1cup dried cranberries,or dried fruit of your choice
Method
Preheat oven to 325 degrees
In large bowl combine, oats, quinoa, all nuts, coconut, flaxseed, sunflower kernels, salt, cinnamon, and cardamon. Stir to combine
In a small saucepan add coconut oil, honey, syrup, vanilla and brown sugar. Heat till melted
Pour over dry ingredients and stir well, mixing to combine
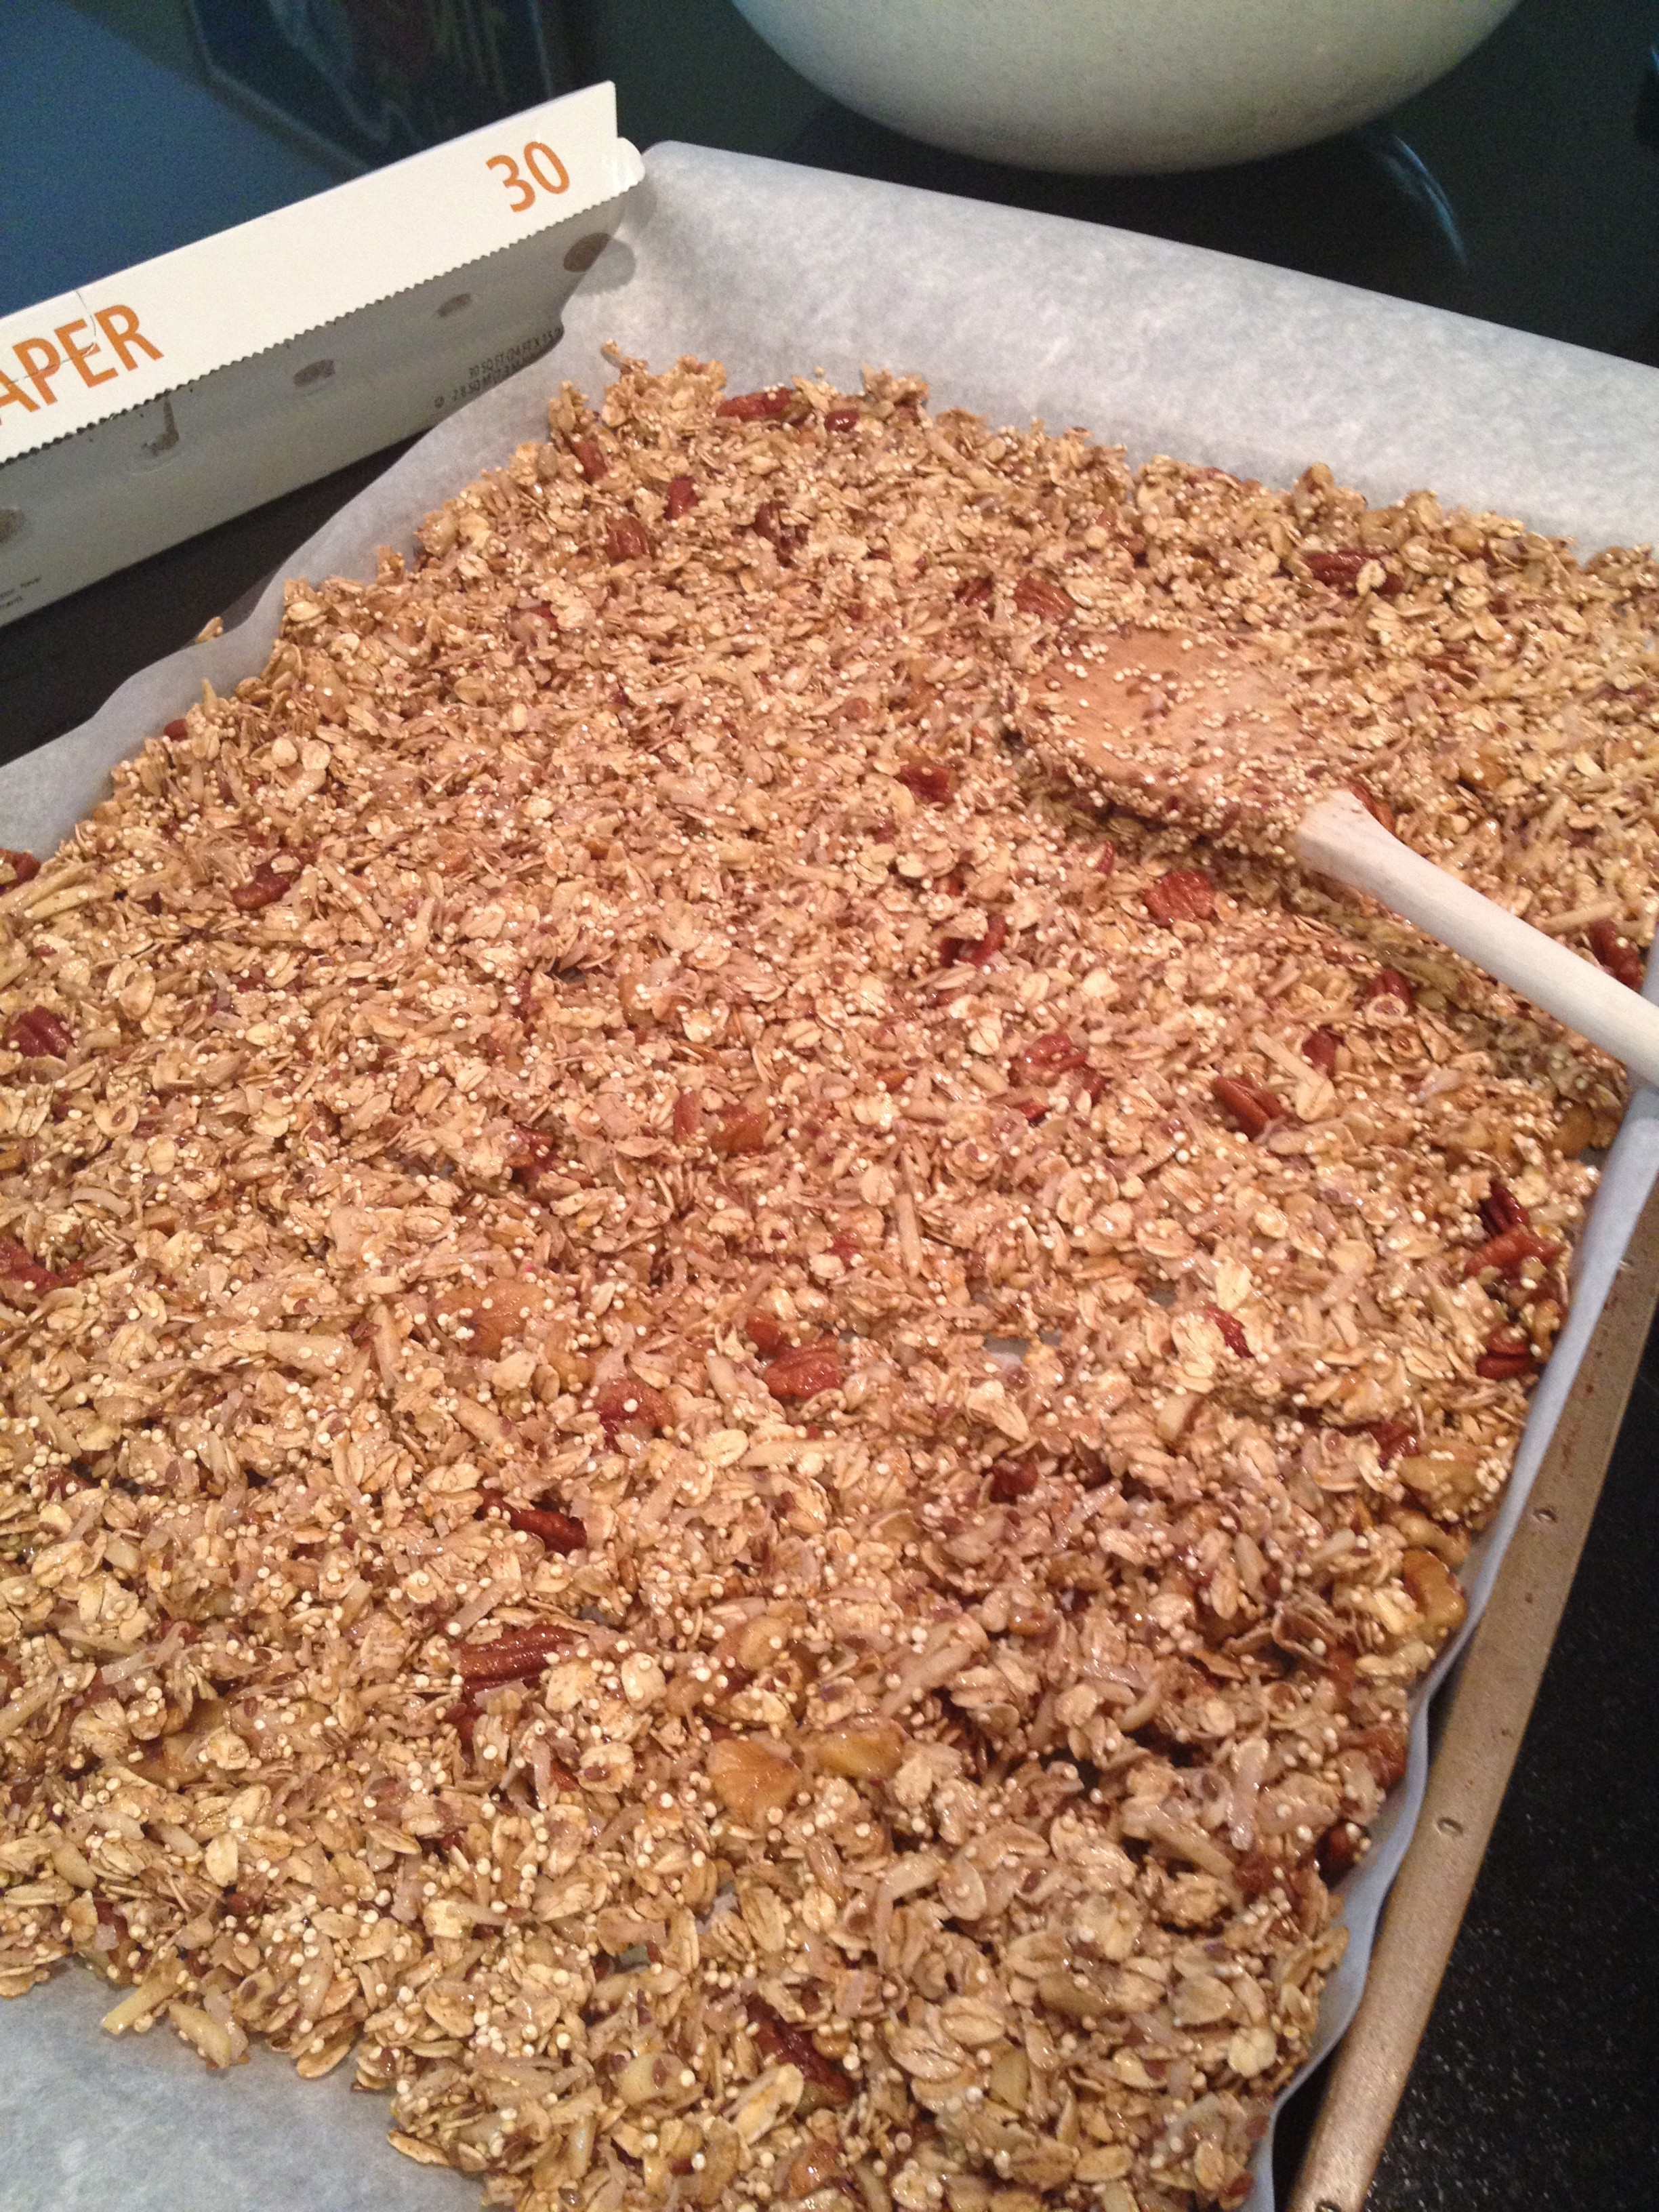
Pour onto parchment paper lined baked sheet and spread out evenly
Bake in preheated oven for 20 minutes, stirring after 10 minutes and watching closely during the last 5 minutes to make sure it doesn't get too brown
Let cool and add dried cranberries or dried fruit of your choice
Notes
Notes: Use any combo of nuts or all of one kind- equal to 2cups.This is so good and nutritious with the quinoa being a complete protein source containing all essential amino acids. Your family will never know something so delicious is so good for them. If you want the granola sweeter; after baking sprinkle some sweetener on while hot and of course I use Splenda because of my diabetic husband.If stored in a tight container in the refrigerator it will last 3 to 6 months. It will be the “Best You Ever Made”