Coconut Quinoa Granola with nuts

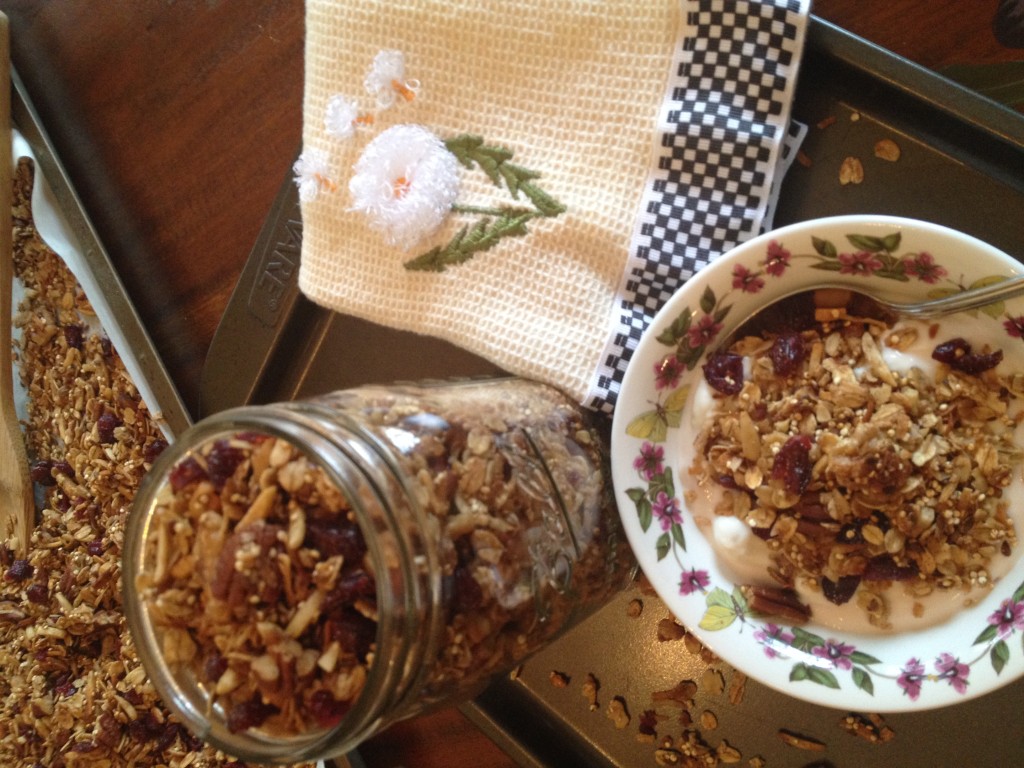
Are you seeing Quinoa everywhere you look in recipes?  I have found I really like it in lots of dishes served hot or cold.  This recipe excites me because by adding quinoa and lots of nuts you increase the protein in the granola.  I love eating this granola on cereal, especially ones that are mostly carbs and no protein and my favorite way is on yogurt or ricotta cheese with fresh berries.  It also makes a great gift packaged in glass jars. It is so much better than the stuff you buy in the stores, most of those have more sugar than a candy bar, and of course no preservatives in this recipe.  You will never buy granola again and making your own is so much cheaper and it is extremely easy to make and you control the ingredients.  You can use this recipe as a starting place for your own special blend of granola filled with things your family will love. Use any kind of nuts, peanuts or seeds and then after cooling add any kind of dried fruit.  The choice is yours.  And by adding the quinoa you really have a nutritious granola.  

Quinoa is an ancient grain and 2013 was recognized as “The International Year of Quinoa”.  Most quinoa  consumed in the US comes from South America and there are  various colors with tri-color is also available.   The protein in quinoa is a complete protein source including all the essential amino acids.  It is also gluten-free.

It is typically consumed in the same way as the cereal grasses like wheat, oats, barley and rye, however, quinoa in not a cereal grass at all but in the same food family of spinach, swiss chard and beets.  Who Knew???  It is considered a “Pseudo-cereal”.

If stored in a tight container in the refrigerator it will last 3 to 6 months.  

I hope you will bake up a batch of this “can’t stop eating it” granola for your family and some to share with your friends.  A side benefit is the aroma that will fill your house. Bet it will not last long!!!   It is “The Best I Ever Made”

Please leave a comment, I would love to know how you made yours “Your Own”.
Coconut Quinoa Granola with Nuts

Basic Granola Recipe where you can add what ingredients you like. Quinoa adds protein.
Course: Breakfast, Snack

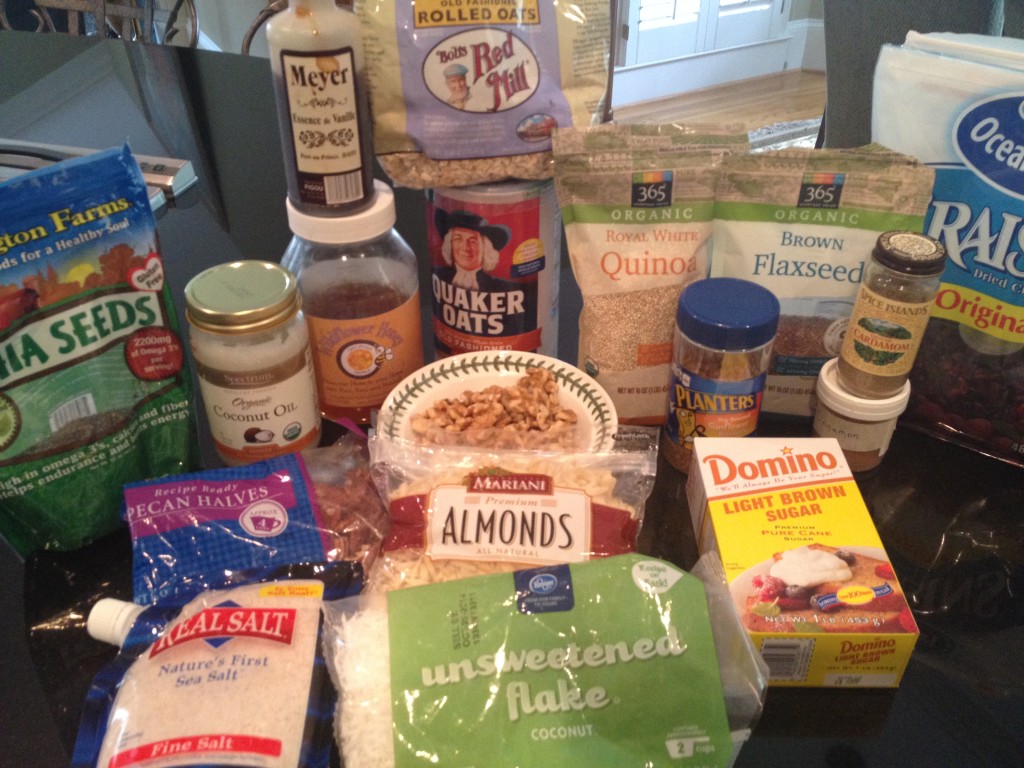
Ingredients
  

  • 3 cups old fashioned oats, Use gluten free oats for a gluten free granola
  • 1 cup uncooked Quinoa, Can leave it out, but increase oats by 1/2 cup.
  • 1 cup slivered almonds, Use any nuts you like
  • 1/2 cup walnuts
  • 1/2 cup pecans
  • 1/4 cup flax seeds
  • 1/4 cup dry roasted sunflower kernels
  • 1 cup shredded coconut, Sweet or unsweetened
  • 1 teaspoon salt
  • 2 teaspoons cinnamon
  • 1 1/2 teaspoons cardamon, optional but adds a really nice flavor
  • 1/4 cup coconut oil
  • 1/4 cup honey
  • 1/4 cup maple syrup, you can use 1/2 cup honey and no syrup
  • 1 teaspoon vanilla
  • 1/4 cup brown sugar
  • 1 cup dried cranberries, or dried fruit of your choice

Method
 

  1. Preheat oven to 325 degrees
  2. In large bowl combine, oats, quinoa, all nuts, coconut, flaxseed, sunflower kernels, salt, cinnamon, and cardamon. Stir to combine
  3. In a small saucepan add coconut oil, honey, syrup, vanilla and brown sugar. Heat till melted
  4. Pour over dry ingredients and stir well, mixing to combine
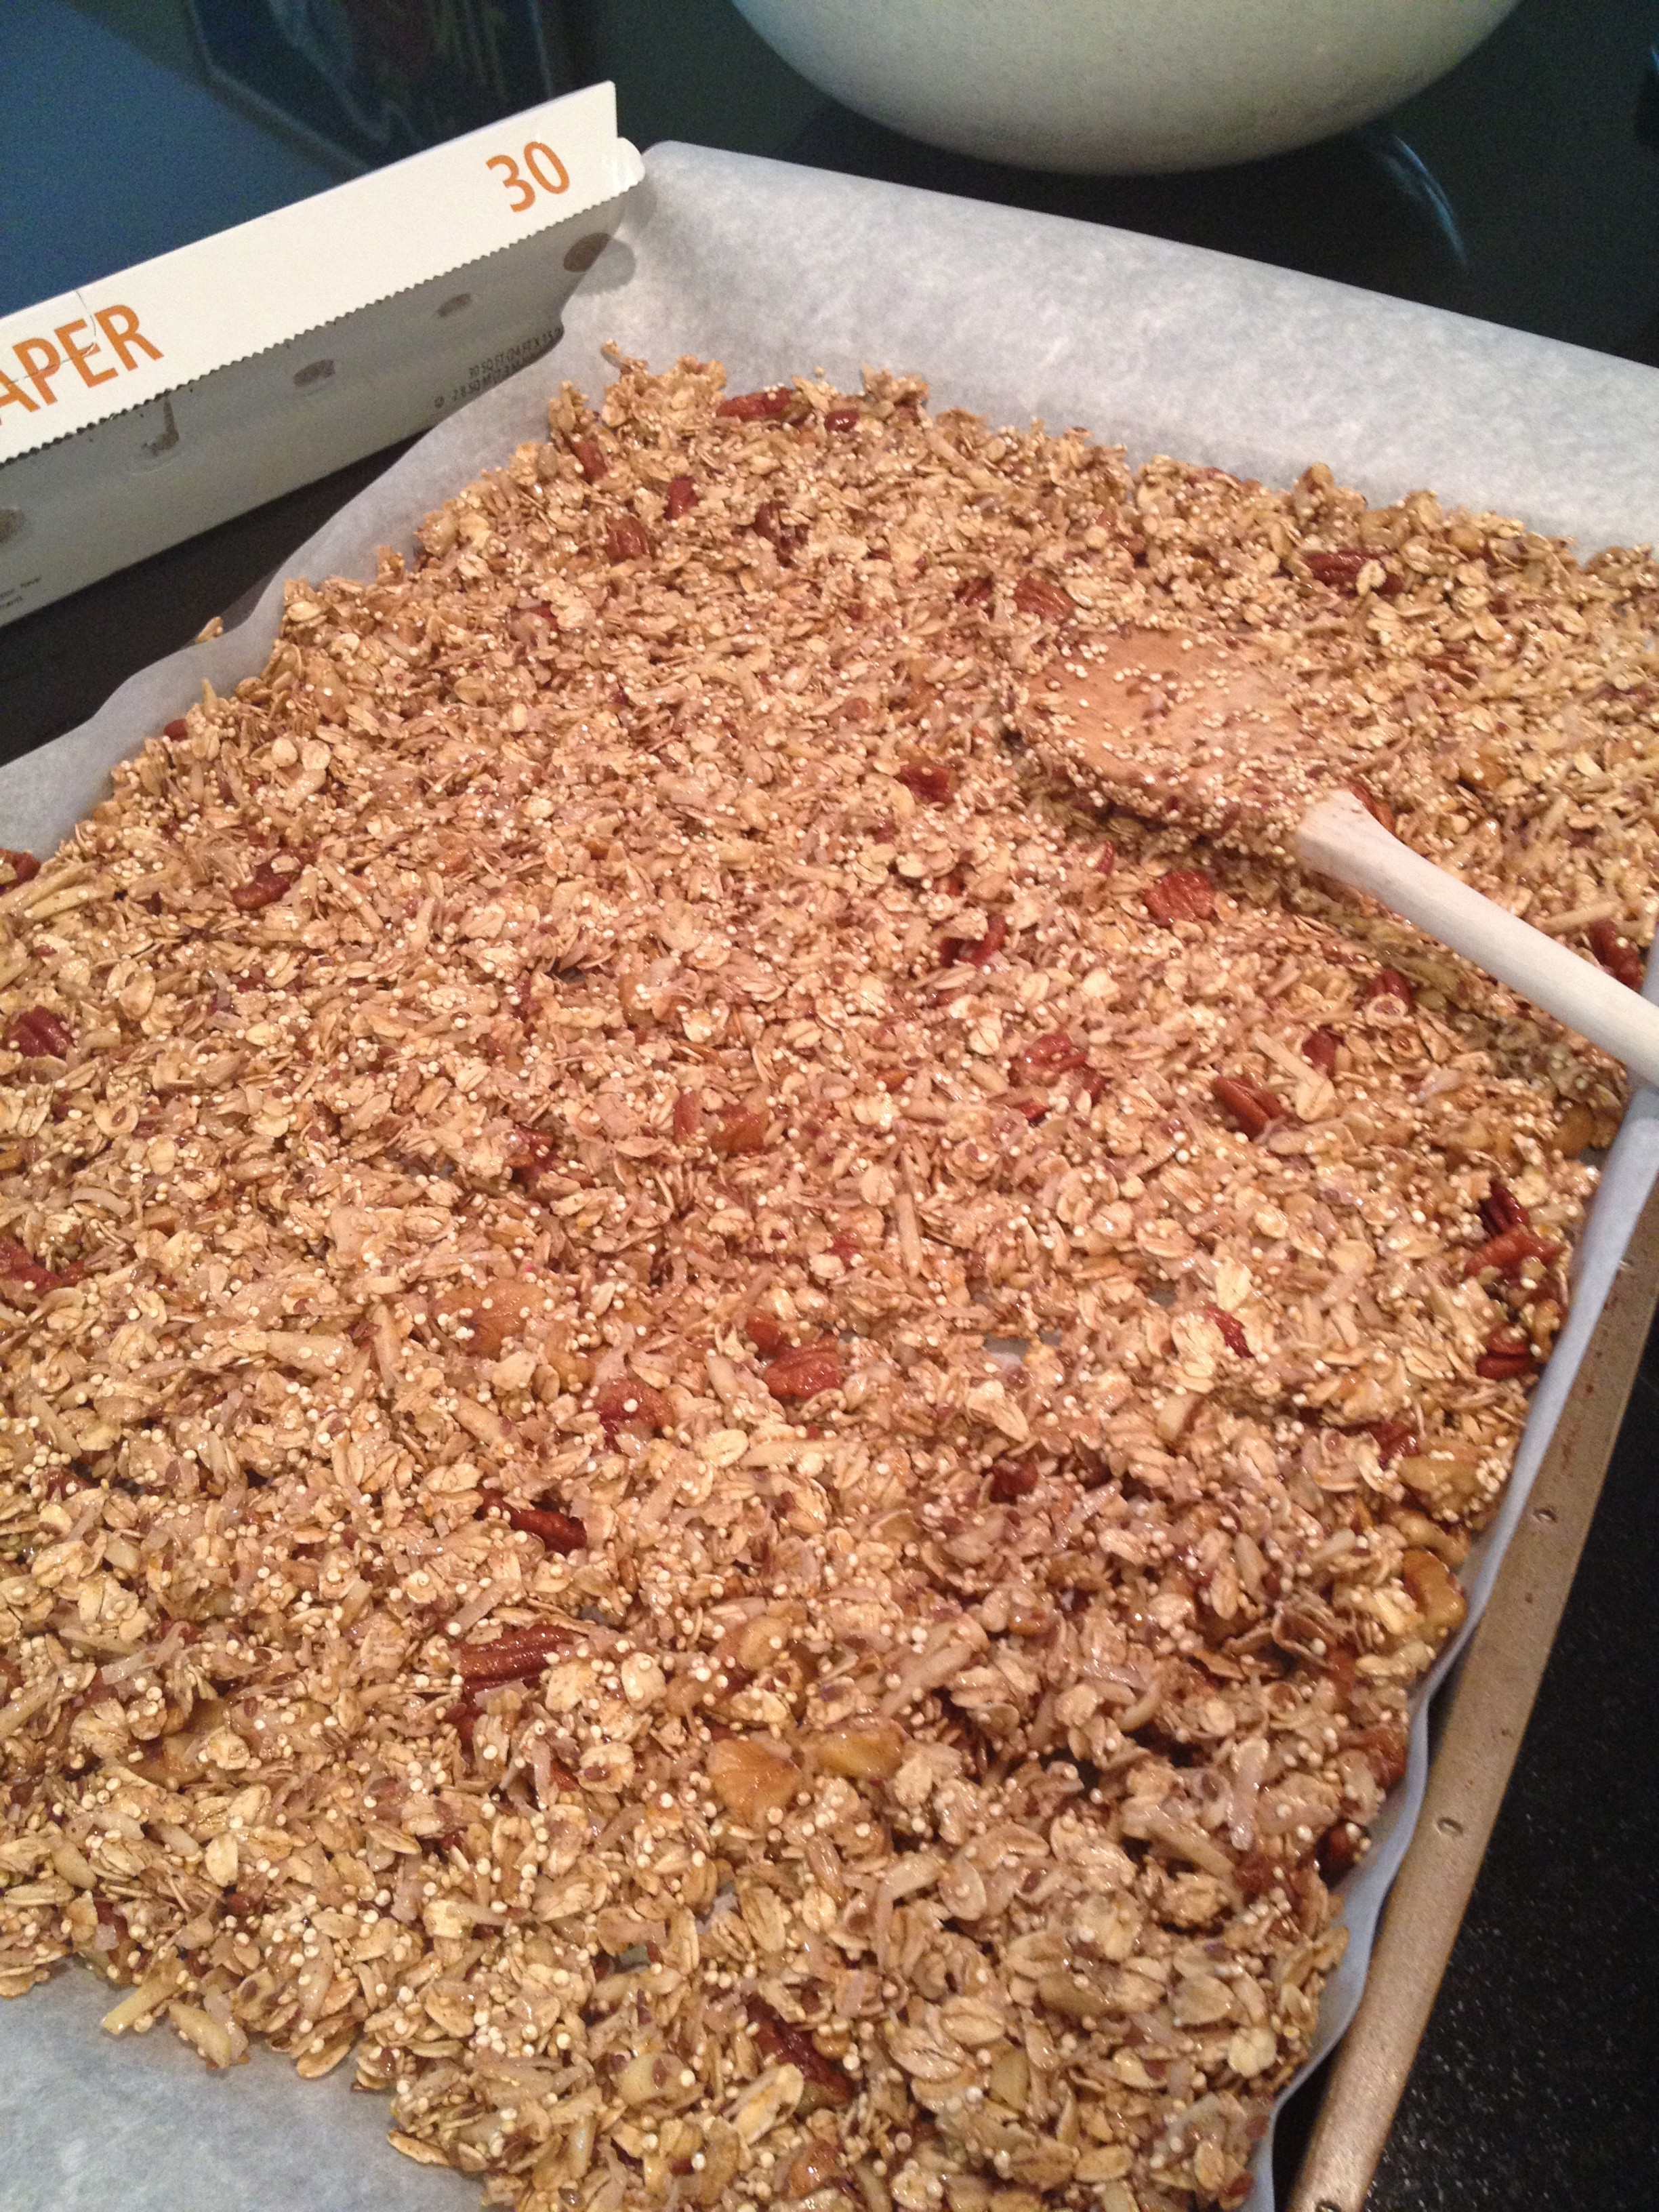
  5. Pour onto parchment paper lined baked sheet and spread out evenly
  6. Bake in preheated oven for 20 minutes, stirring after 10 minutes and watching closely during the last 5 minutes to make sure it doesn't get too brown
  7. Let cool and add dried cranberries or dried fruit of your choice

Notes

Notes:  
Use any combo of nuts or all of one kind- equal to 2cups.
This is so good and nutritious with the quinoa being a complete protein source containing all essential amino acids.  Your family will never know something so delicious is so good for them.
 If you want the granola sweeter; after baking sprinkle some sweetener on while hot and of course I use Splenda because of my diabetic husband.
If stored in a tight container in the refrigerator it will last 3 to 6 months.  
It will be the “Best You Ever Made”    
 

Graham Cracker Cookies with a Pecan on Top

Plateful of Yum!!!  Great for passing at a dinner party even when having another dessert
Plateful of Yum!!!  Tidbit Tip: Great for passing at a dinner party even when having another dessert. We did this last night and everyone could not resist eating several.  Bet you can’t either!

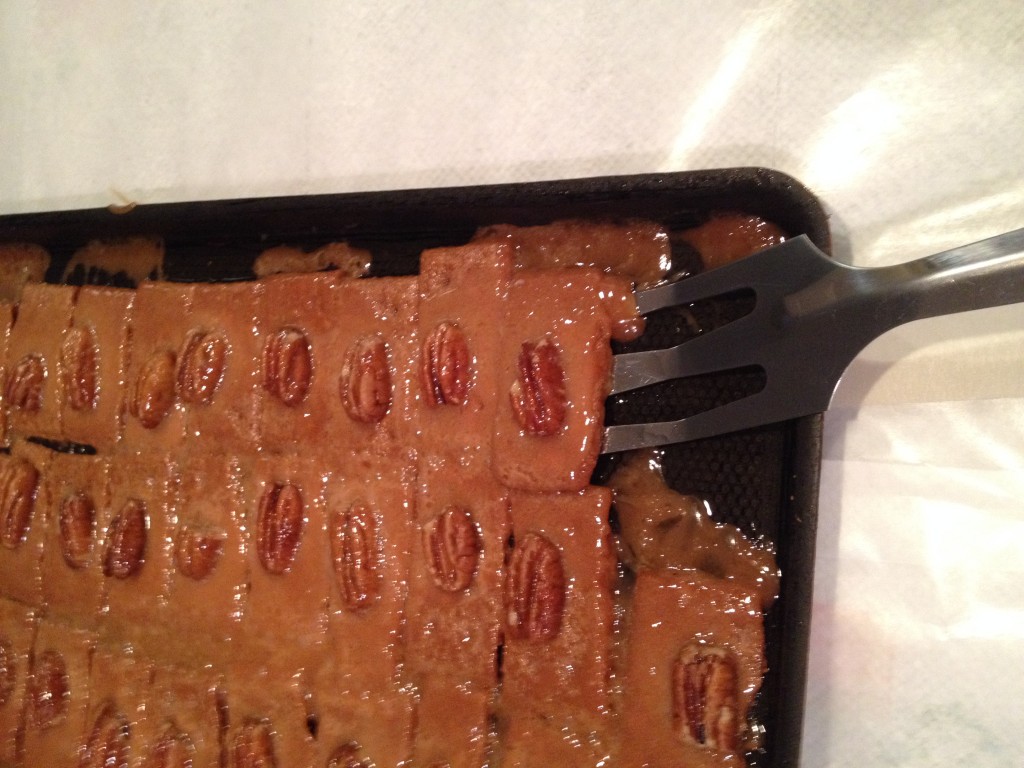
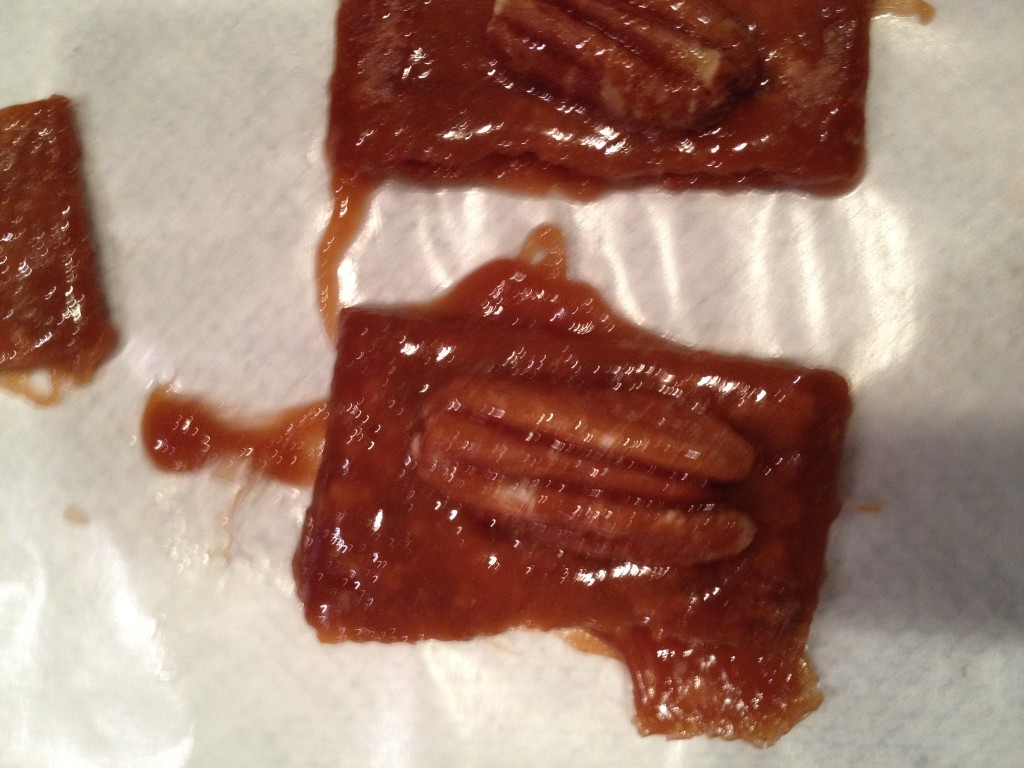
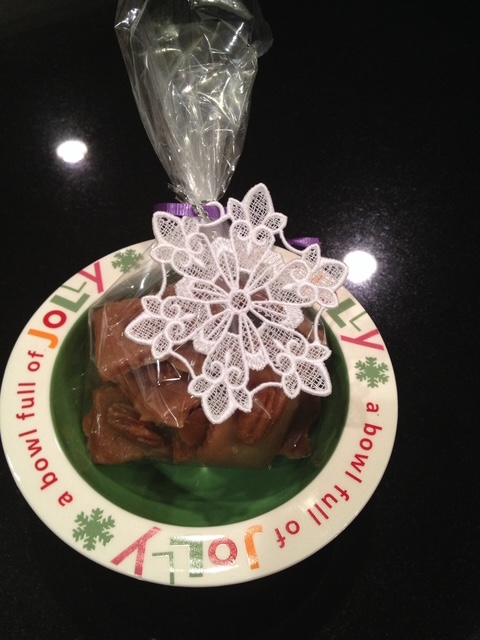
Hey Everybody, finally I am posting my famous Graham Cracker Cookies.  So many of you have waited for this post.  I have made these cookies for so many years I have lost count. I am known for them and every Christmas they are my  “Joyful Gift from my Kitchen”.   I love them because they are low in sugar and so very delish!!!  You can also make them without the pecans.  One batch makes around 44 cookies so you can get almost 4 dozen in one baking. (Lots of goodness and joy to share, and if you bag 11 cookies to a bag you will have 4 gifts in one baking)  They also keep well so you can make them weeks ahead.  I package them in clear plastic bags with pretty ribbons but this year I embroidered some snowflakes on my embroidery machine and used them to add to the bag.  The snowflakes also serve as a gift to hang on the tree that will bring back memories year after year.  I hope you will make these.  Follow the instructions below then package them in bags or tins.  Be creative and please leave comments on how you packaged them for gifting and with whom you shared them.   We can learn new ideas from each other.   Of course, they are not just for Holiday Time – they are year round cookies.   If you don’t have a recipe that you are known for and one that you spread joy with by sharing – these Graham Cracker Cookies could be the one.

Cookies on sheet
Graham Cracker Cookies on cookie sheet topped with pecans. Notice broken edges on some. It is harder and harder to break them evenly. All good though!!! Tidbit Tip: Use cookie sheet with sides but not too deep.                
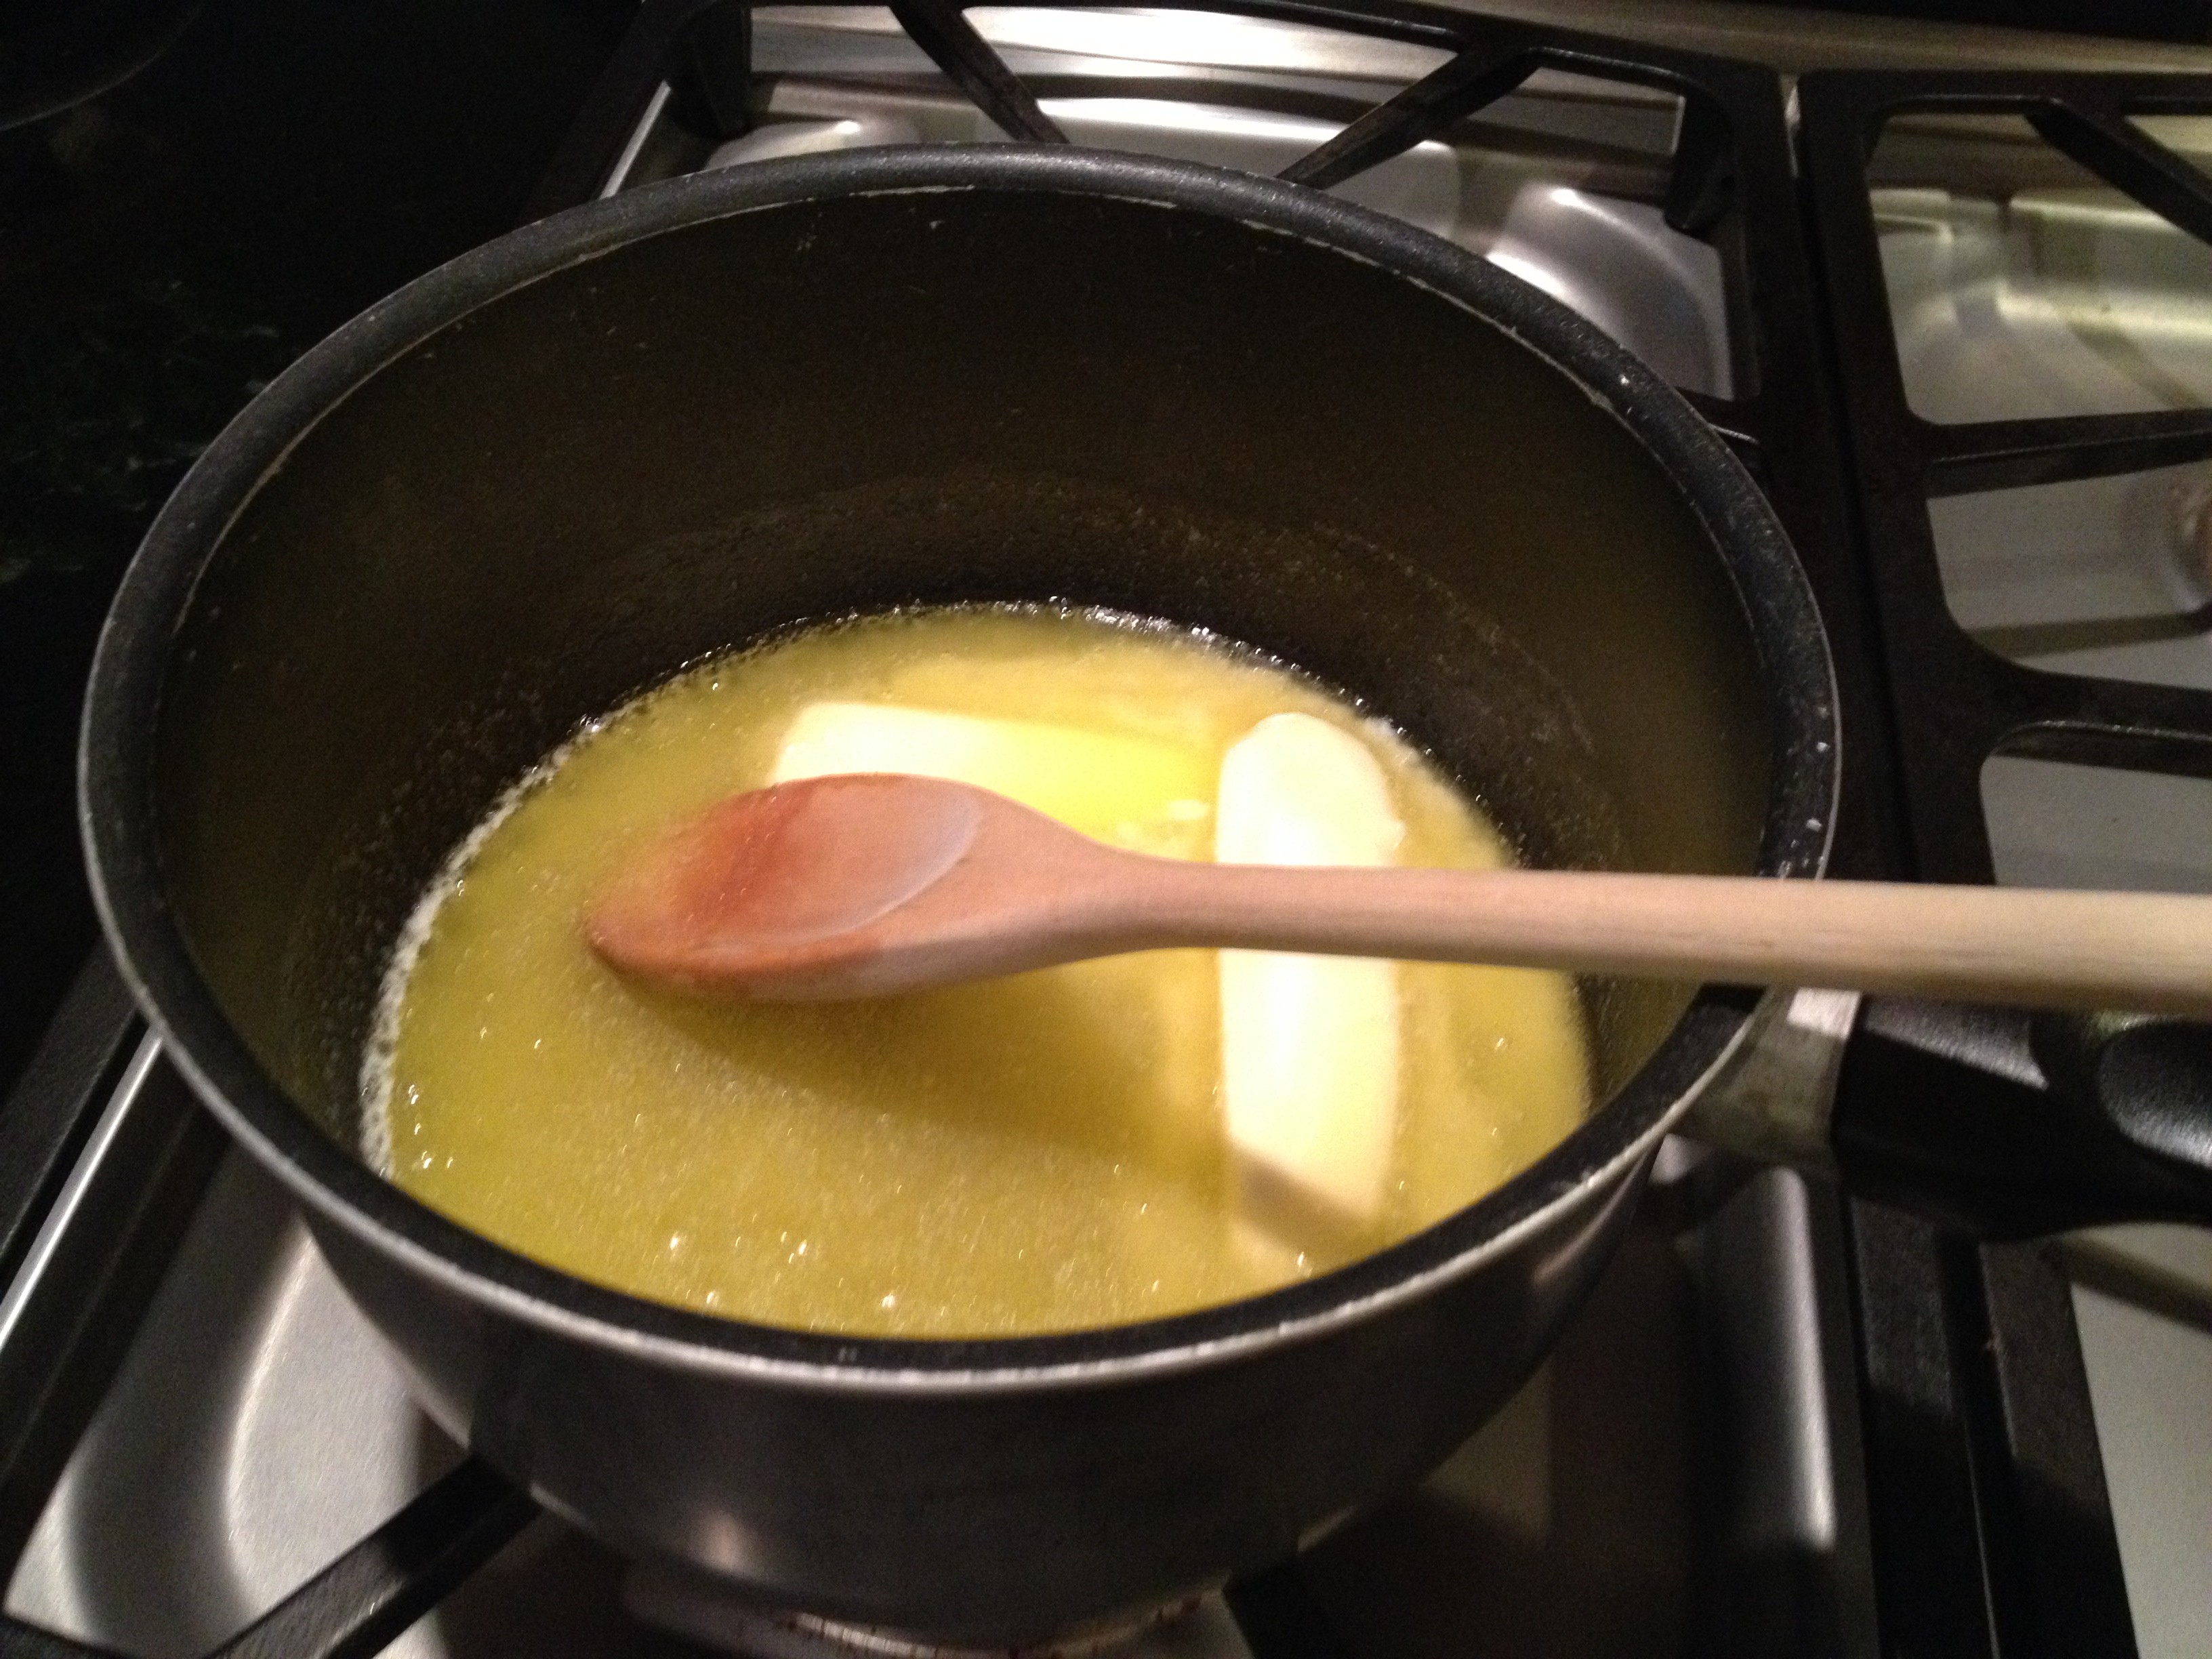
Butter and sugar melting.  When it start to boil: boil for 3 minutes -  Tidbit Tip: Use a non-stick pot.
Butter and sugar melting. When it starts to boil: boil for 3 minutes – Tidbit Tip: Use a non-stick pot.


Cookies with boiled sugar and butter poured over - Ready to go in oven for 12 minutes at 325 degrees. Tidbit Tip:  Don't worry if they are not evenly covered.  They bubble up in the oven and spread over the cookies.  Make sure there is some topping on the pecan to hold it in place.

Cookies covered with the boiled sugar and butter. – Ready to go in oven for 12 minutes at 325 degrees. Tidbit Tip: Don’t worry if they are not evenly covered. They bubble up in the oven and the mixture will spread over the cookies.  Make sure there is some mixture on the pecans to hold them in place.


Tidbit Tip: Do this for easier clean up: While cookies are baking prepare your counter top.   Place a layer of paper towels and then cover with wax paper.  I use masking tape to secure the wax paper to the counter top. I then place a hot pad on top of wax paper for the hot cookie sheet.  Tidbit Tip: Spray the spatula with cooking spray 


Cookies packaged to give as a treat. I love this bowl. It makes me smile. A Bowl full of Joy!!!

Graham Cracker Cookies

Toffee flavored, you can't eat just one, yummy cookies
Servings: 3 Dozen
Course: Dessert

Ingredients
  

  • 2 sticks butter, make sure it is salted
  • 1/2 cup sugar
  • 1 Package Original Nabisco Grahams Crackers
  • Pecan halves

Method
 

  1. Use cookie sheet with sides. Spray with Pam.
  2. Line bottom of pan with crackers.
  3. Place pecan half on each cracker.
  4. Melt butter, add sugar. Bring to boil and boil exactly 3 minutes.
  5. Pour or spoon over crackers.
  6. Bake for 12 minutes in a pre-heated 325 degree oven.
  7. Remove cookies with a spatula and place on wax paper

Notes

Tidbit Tips:
Nabisco Grahams work best.
It’s important to cook the correct amount of time.  If you don’t cookies will be too chewy.
For easier clean up:   Line your counter top with paper towels and place wax paper on top.   I usually tape it all down with blue painters tape. 
 Let cookies rest on wax paper for a few minutes, then lift off and then let them cool completely.   If you lift them too soon the cracker will break and if you leave too long, they tend to stick to the wax paper. 
After cooling trim the edges. 
 I know this sounds like a lot, but after the first time, it’s really quite easy.   They will be “The Best You Ever Made”   Let me know how you like them. 
 

=