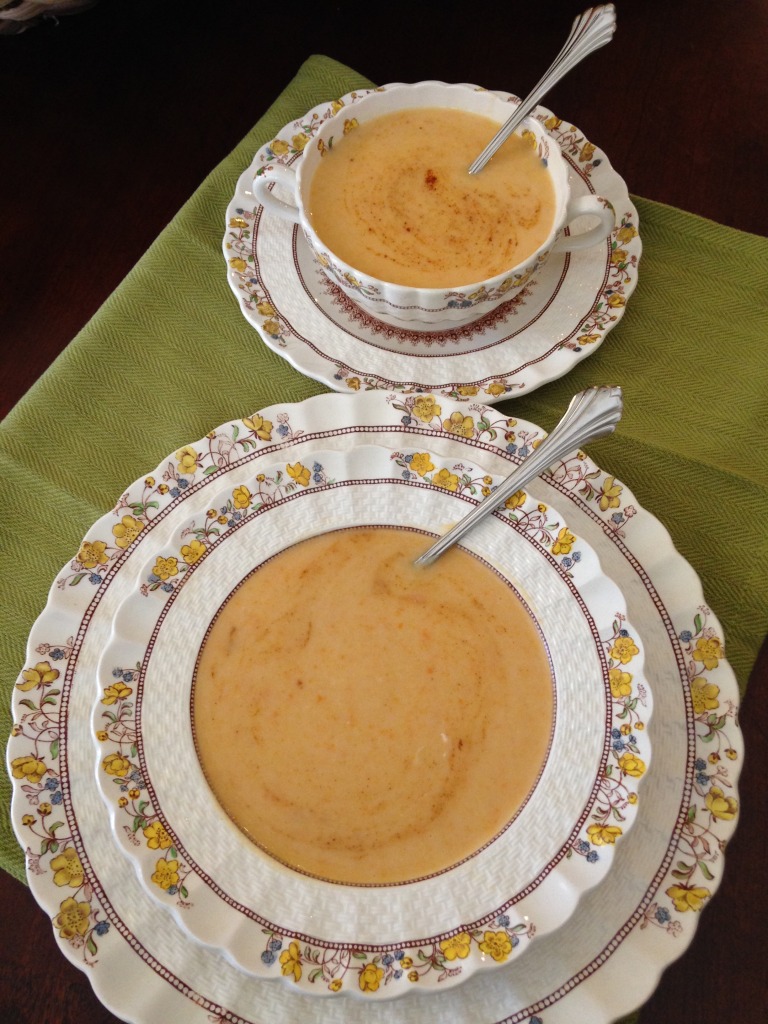
Yellow Squash Soup

 Usually I think of yellow squash in the summer, but I also think about them when there is a hint of fall in the air and knowing winter is right on its heels.  I always start making soup and chill.  This soup is so easy and so delicious.  Last week I shared a post about a Breast Cancer Luncheon that my best friend Marcy and I hosted.   We served this soup with cheese straws on the side.  It was a big hit and so many wanted the recipe I thought I really should put it on the blog.  So here you go!!!  We also make this for 65 people for our Celebration Dinner for Apples of Gold.  So it works great to double or triple the recipe.  We have people tell us they don’t like squash but they really like this soup.  So make it and they will eat it!!!  If you are like me you are watching what you eat and trying to make some of your tried and true recipes more healthy.  I used coconut milk instead of whipping cream and saved a lot of fat. It did not change the texture or the taste.  You can also adjust the Cayenne pepper to your taste.  If you like it spicy/hot add more but remember you will be adding some paprika on the top.  I hope you will make this “warm me up” Yellow Squash Soup and make an extra batch to bring joy to someone you know.

Yellow Squash Soup

Servings: 10
Course: Soup

Ingredients
  

  • 1 stick butter
  • 1 large onion chopped
  • 2 medium baking potatoes, peeled and sliced
  • 2 carrots sliced, I used 2 cups pre-cut carrots
  • 4 cups yellow squash sliced, about 8 squash
  • 3 tablespoons flour
  • 3 cups chicken broth
  • salt and pepper to taste
  • 1/4 teaspoon red (cayenne) pepper or to taste
  • 1 cup whipping cream, or 1 can coconut milk
  • 1/2 teaspoon nutmeg
  • Paprika for garnish

Method
 

  1. In a 4-quart saucepan, melt butter
  2. Add onion, sauté until wilted and transparent, about 5 minutes
  3. Add potatoes, carrots and squash; toss to coat with butter
  4. Add flour all at once; stir to combine
  5. Cook over medium heat 3-4 minutes, stirring
  6. Slowly stir in broth
  7. Season to taste with salt and cayenne pepper
  8. Cover, cook until all vegetables are fork tender, about 45 minutes
  9. Puree soup in batches in blender, food processor or with immersion hand blender in the pot
  10. When all soup has been pureed, return to soup pot
  11. Stir in cream or coconut milk. Taste for seasonings, adjust if necessary
  12. Heat through
  13. Stir in nutmeg; cook 3 to 4 minutes
To Serve
  1. Ladle hot soup in bowls. Sprinkle paprika onto top of soup and use a spoon to gently stir through soup creating an attractive marble patter,

Notes

To Store:  Soup base (before cream is added)  may be pureed, cooled and frozen up to 1 month.  Thaw base in refrigerator, bring to boil.  Reduce heat, add cream.  Enjoy!

Thursday Tidbits – Knives

Thursday Tidbits – Knives

thursday


I did a lot of cooking over the weekend taking food to friends who moved into their new house, caring casseroles in action.  I loved using my new knives.  Some very special ladies gave them to me and they are so fun with their bold colors and so sharp.  So, I started thinking about knives, how to care for them, what the different kinds are and how each knife is made for a specific task.  The starting place for any joyful and functioning  kitchen is a set of good sharp knives.  It makes your prep work so much easier and faster.  So if you don’t have good knives start by buying one at a time till you have a set.  You will be glad you did.  But don’t get discouraged with so many kinds, shapes and sizes.  Reminds me of my golf game.  I have all these clubs in my golf bag and I usually end up using 3 or 4 clubs the whole 18 holes.  Knives are like that.  You will find you have a few favorites that you use for everything.   Make sure those few favorite ones are of good quality and the right size for you.  Below are my favorite ones.  Let me know your favorites and why.  We can learn from each other. 

Tidbit:  Always hand wash your knives drying them thoroughly.  This will help keep them sharp. Store them in a knife block or in sleeves.  Putting them in a drawer with other utensils will dull the blades.
Tidbit Tip:  Never use the sharp side of your knife to scrape food off of your chopping block; turn it over and use the dull side.

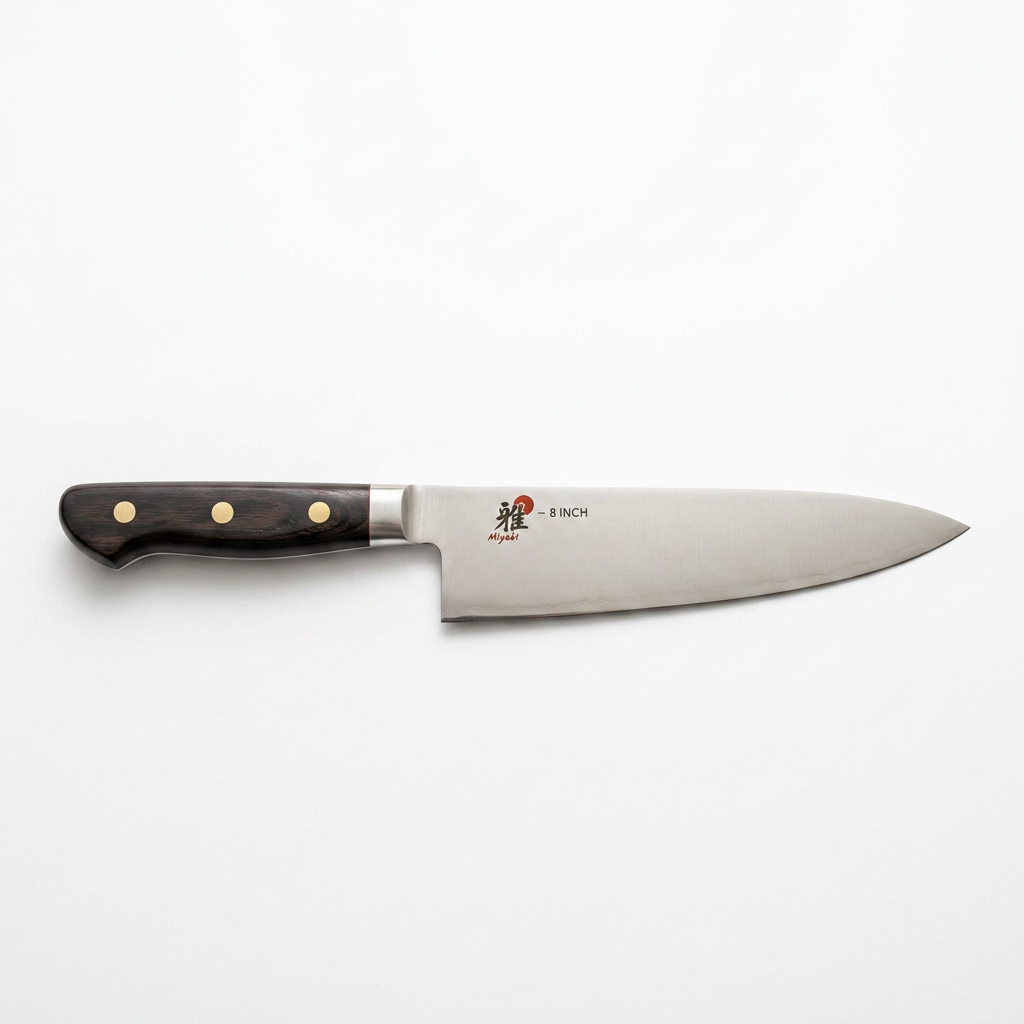
Chef’s knife:  The blade is broad and averages about 8 inches long and is used for chopping, slicing, dicing, julienning, or mincing.  The broad side can be used to crush garlic.  There are smaller, less broad chef’s knives available.  

8-inch Miyabi chef's knife with black handle on wooden cutting board
An 8-inch chef’s knife

Santoku Knife:   Compared to a chef’s knife, the Santoku is usually shorter and has a thinner blade.  Oval indentations on the blade’s sides reduce friction to produce clean, uniform cuts minimizing sticking.  This is my favorite knife.


Santoku Knives a type of chef’s knife

 Bread Knife:  The blade is straight, serrated and at least 8 inches long.  It is used to cut through soft or crusty breads,  cakes, and baked goods.  I also like using it for tomatoes.

Bread Knife
Bread Knife

Paring and Utility Knives:   Paring knives look like small chef’s knives with a tapered blade usually 3 to 4 inches.  They are used for peeling and slicing fruits and vegetables.  Utility knives are larger paring knives with a slightly curved blade.  They are used for carving small cuts of meat.

Paring and Utility Knives


Happy Golfing and Chopping!!!

So, like golf clubs, knives do have specific tasks they are made for but you can play 18 holes with only a few clubs and you can chop, dice, mince and crave with a few knives.  

 Playing Golf with my husband Bill, who is a great golfer,  in N. Myrtle Beach, SC

Coconut Quinoa Granola with nuts

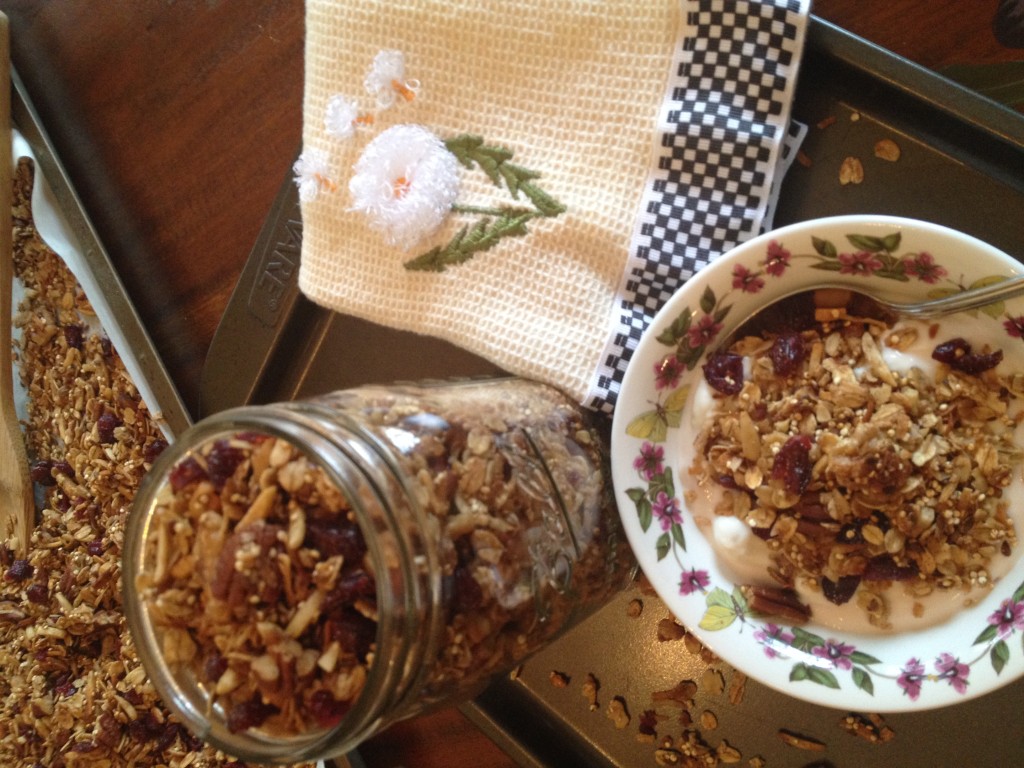
Are you seeing Quinoa everywhere you look in recipes?  I have found I really like it in lots of dishes served hot or cold.  This recipe excites me because by adding quinoa and lots of nuts you increase the protein in the granola.  I love eating this granola on cereal, especially ones that are mostly carbs and no protein and my favorite way is on yogurt or ricotta cheese with fresh berries.  It also makes a great gift packaged in glass jars. It is so much better than the stuff you buy in the stores, most of those have more sugar than a candy bar, and of course no preservatives in this recipe.  You will never buy granola again and making your own is so much cheaper and it is extremely easy to make and you control the ingredients.  You can use this recipe as a starting place for your own special blend of granola filled with things your family will love. Use any kind of nuts, peanuts or seeds and then after cooling add any kind of dried fruit.  The choice is yours.  And by adding the quinoa you really have a nutritious granola.  

Quinoa is an ancient grain and 2013 was recognized as “The International Year of Quinoa”.  Most quinoa  consumed in the US comes from South America and there are  various colors with tri-color is also available.   The protein in quinoa is a complete protein source including all the essential amino acids.  It is also gluten-free.

It is typically consumed in the same way as the cereal grasses like wheat, oats, barley and rye, however, quinoa in not a cereal grass at all but in the same food family of spinach, swiss chard and beets.  Who Knew???  It is considered a “Pseudo-cereal”.

If stored in a tight container in the refrigerator it will last 3 to 6 months.  

I hope you will bake up a batch of this “can’t stop eating it” granola for your family and some to share with your friends.  A side benefit is the aroma that will fill your house. Bet it will not last long!!!   It is “The Best I Ever Made”

Please leave a comment, I would love to know how you made yours “Your Own”.

Coconut Quinoa Granola with Nuts

Basic Granola Recipe where you can add what ingredients you like. Quinoa adds protein.
Course: Breakfast, Snack

Ingredients
  

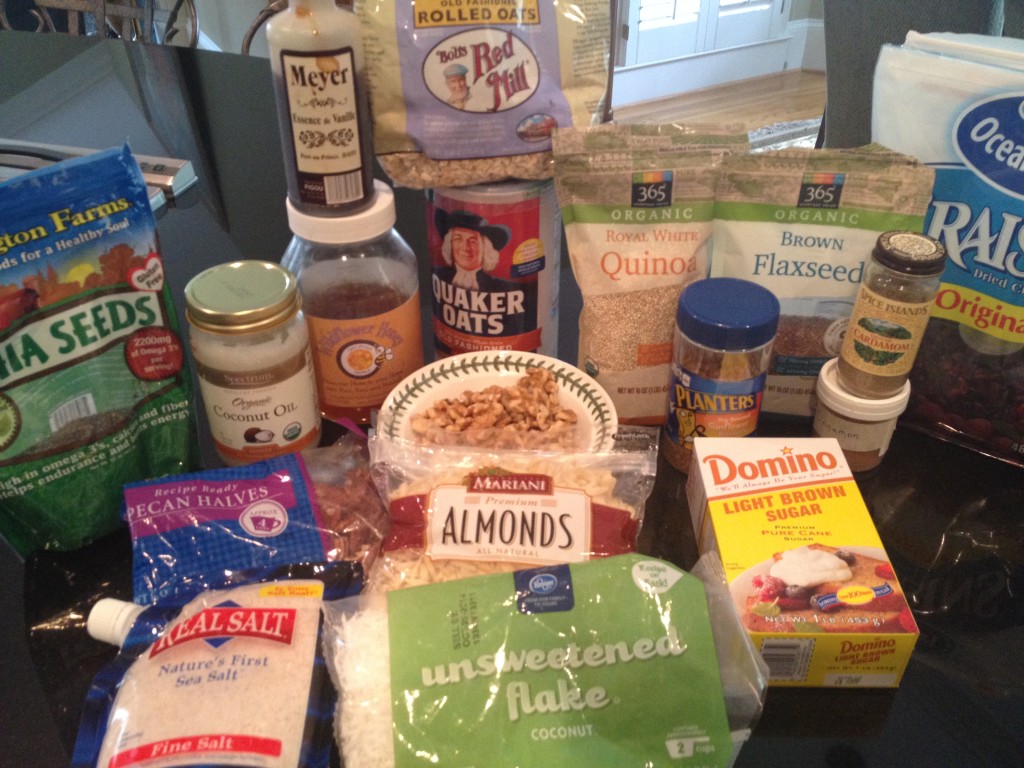
  • 3 cups old fashioned oats, Use gluten free oats for a gluten free granola
  • 1 cup uncooked Quinoa, Can leave it out, but increase oats by 1/2 cup.
  • 1 cup slivered almonds, Use any nuts you like
  • 1/2 cup walnuts
  • 1/2 cup pecans
  • 1/4 cup flax seeds
  • 1/4 cup dry roasted sunflower kernels
  • 1 cup shredded coconut, Sweet or unsweetened
  • 1 teaspoon salt
  • 2 teaspoons cinnamon
  • 1 1/2 teaspoons cardamon, optional but adds a really nice flavor
  • 1/4 cup coconut oil
  • 1/4 cup honey
  • 1/4 cup maple syrup, you can use 1/2 cup honey and no syrup
  • 1 teaspoon vanilla
  • 1/4 cup brown sugar
  • 1 cup dried cranberries, or dried fruit of your choice

Method
 

  1. Preheat oven to 325 degrees
  2. In large bowl combine, oats, quinoa, all nuts, coconut, flaxseed, sunflower kernels, salt, cinnamon, and cardamon. Stir to combine
  3. In a small saucepan add coconut oil, honey, syrup, vanilla and brown sugar. Heat till melted
  4. Pour over dry ingredients and stir well, mixing to combine
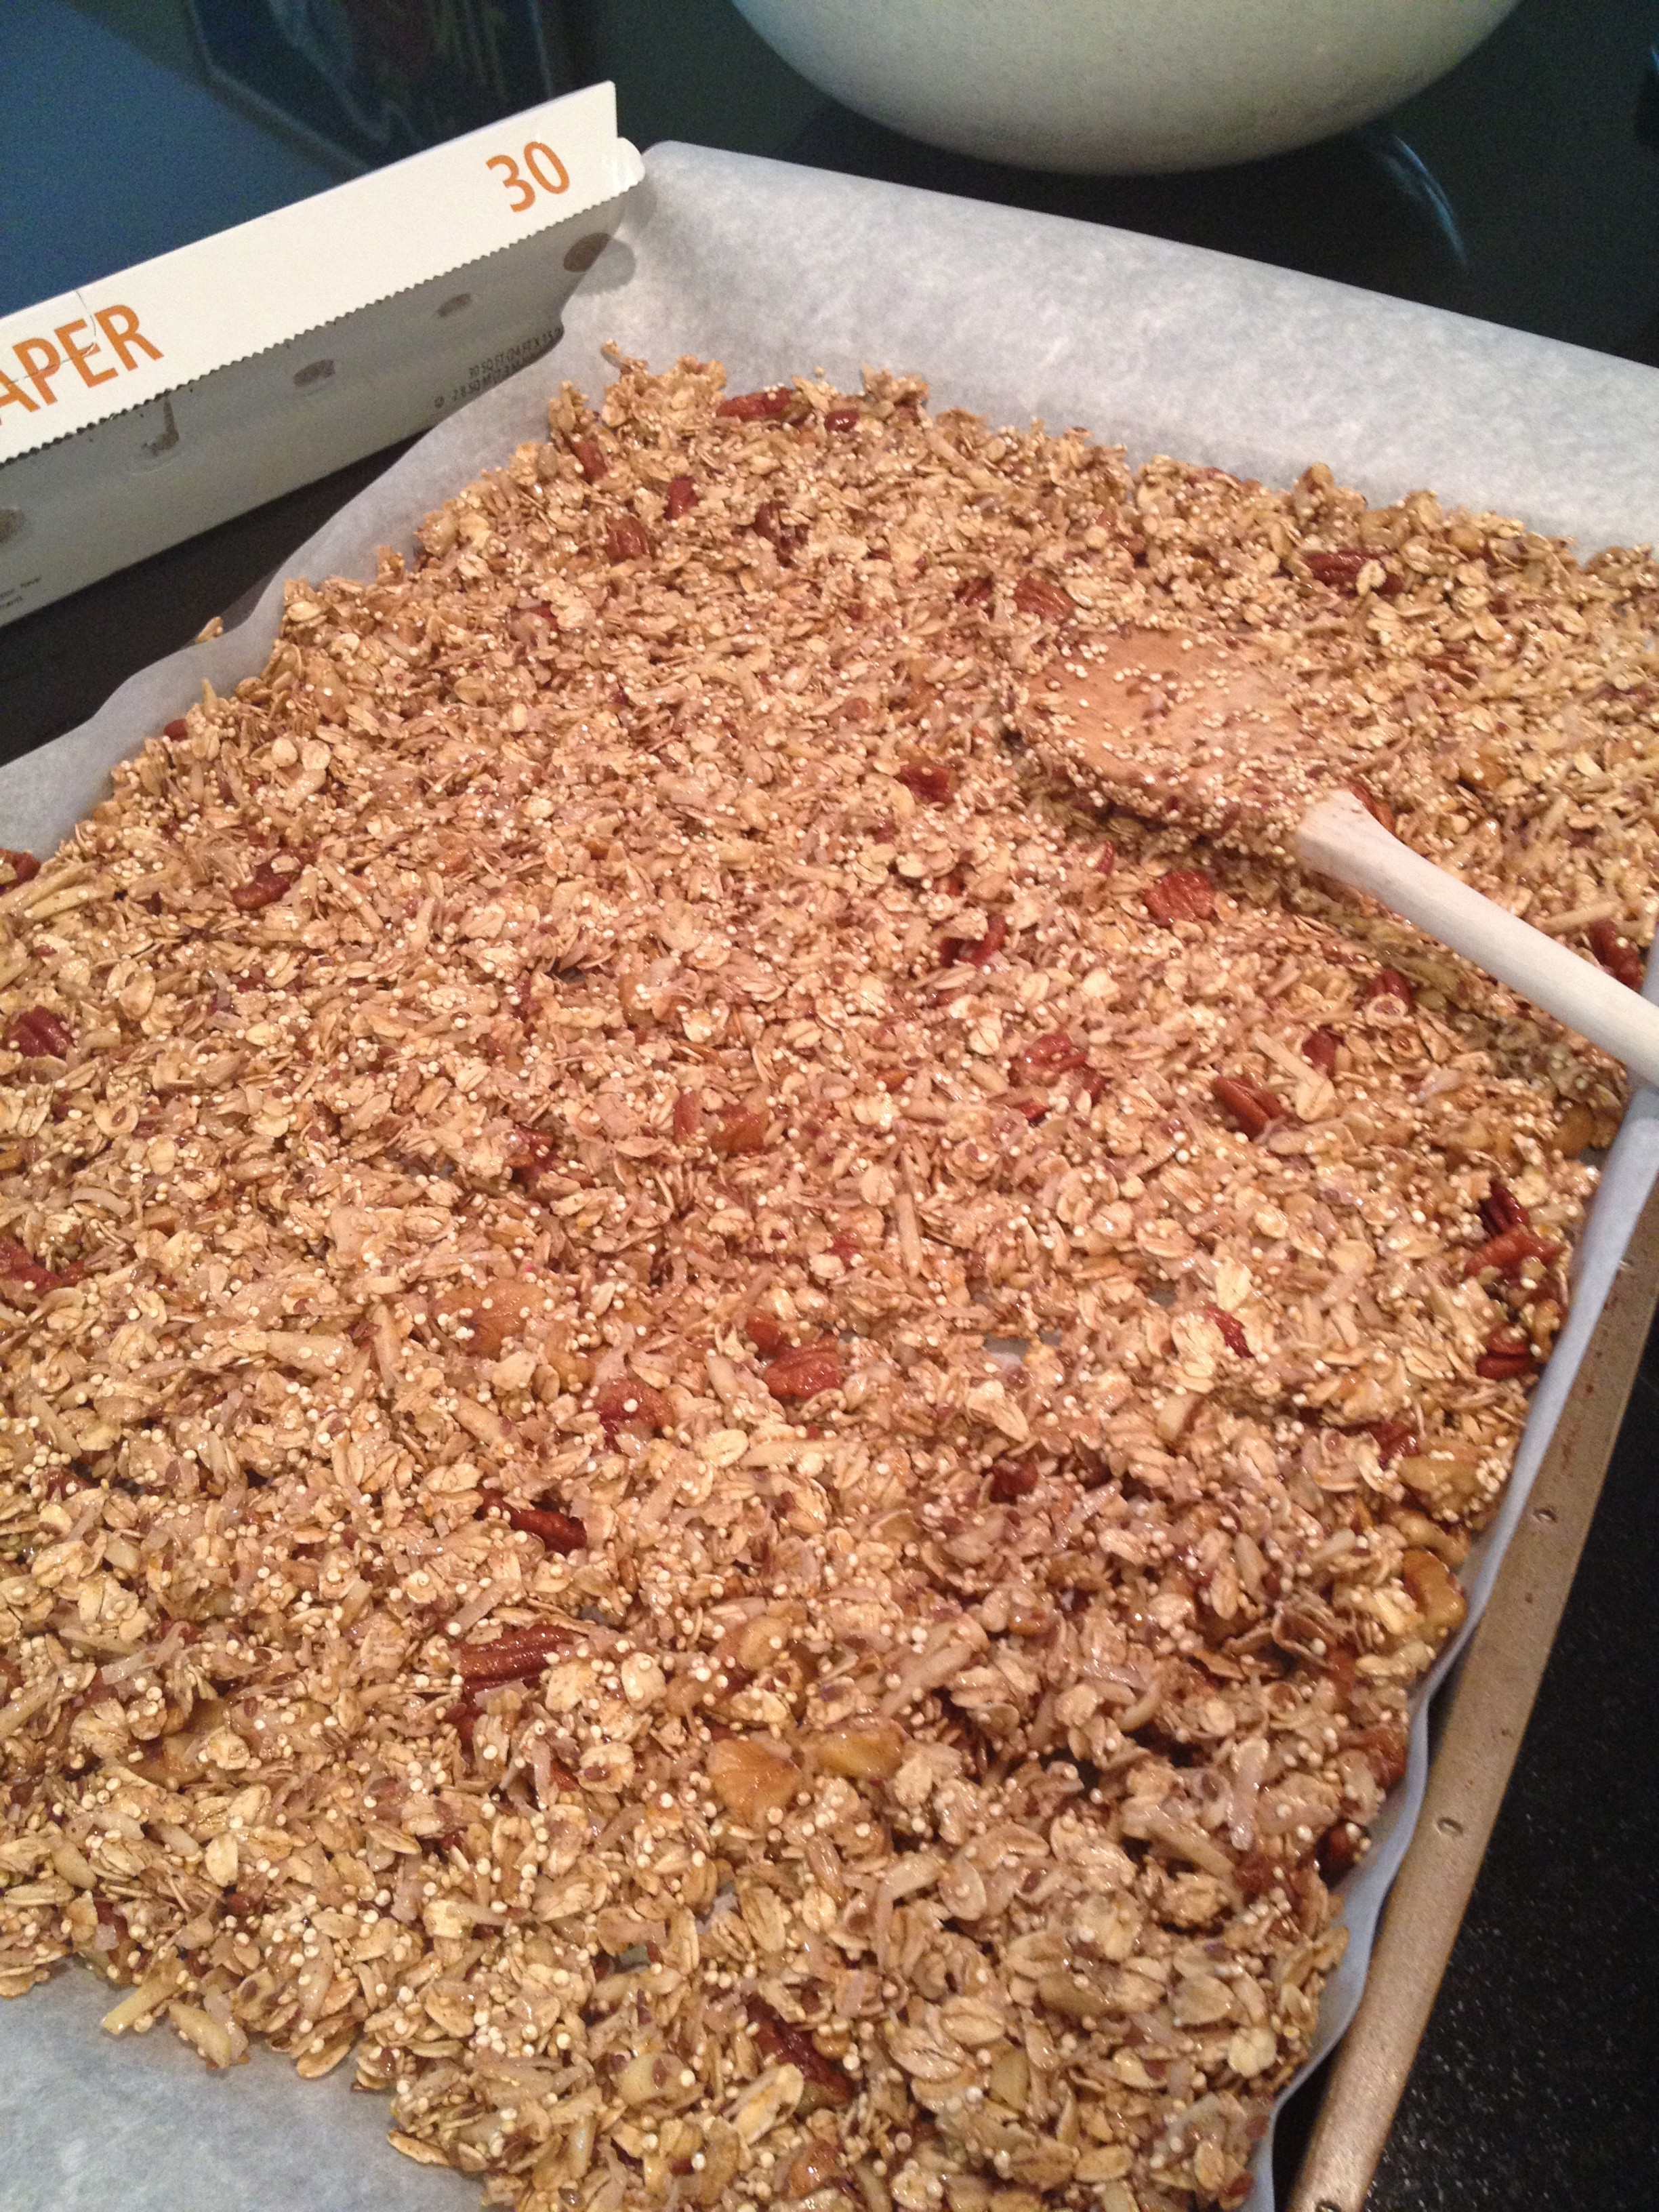
  5. Pour onto parchment paper lined baked sheet and spread out evenly
  6. Bake in preheated oven for 20 minutes, stirring after 10 minutes and watching closely during the last 5 minutes to make sure it doesn't get too brown
  7. Let cool and add dried cranberries or dried fruit of your choice

Notes

Notes:  
Use any combo of nuts or all of one kind- equal to 2cups.
This is so good and nutritious with the quinoa being a complete protein source containing all essential amino acids.  Your family will never know something so delicious is so good for them.
 If you want the granola sweeter; after baking sprinkle some sweetener on while hot and of course I use Splenda because of my diabetic husband.
If stored in a tight container in the refrigerator it will last 3 to 6 months.  
It will be the “Best You Ever Made”