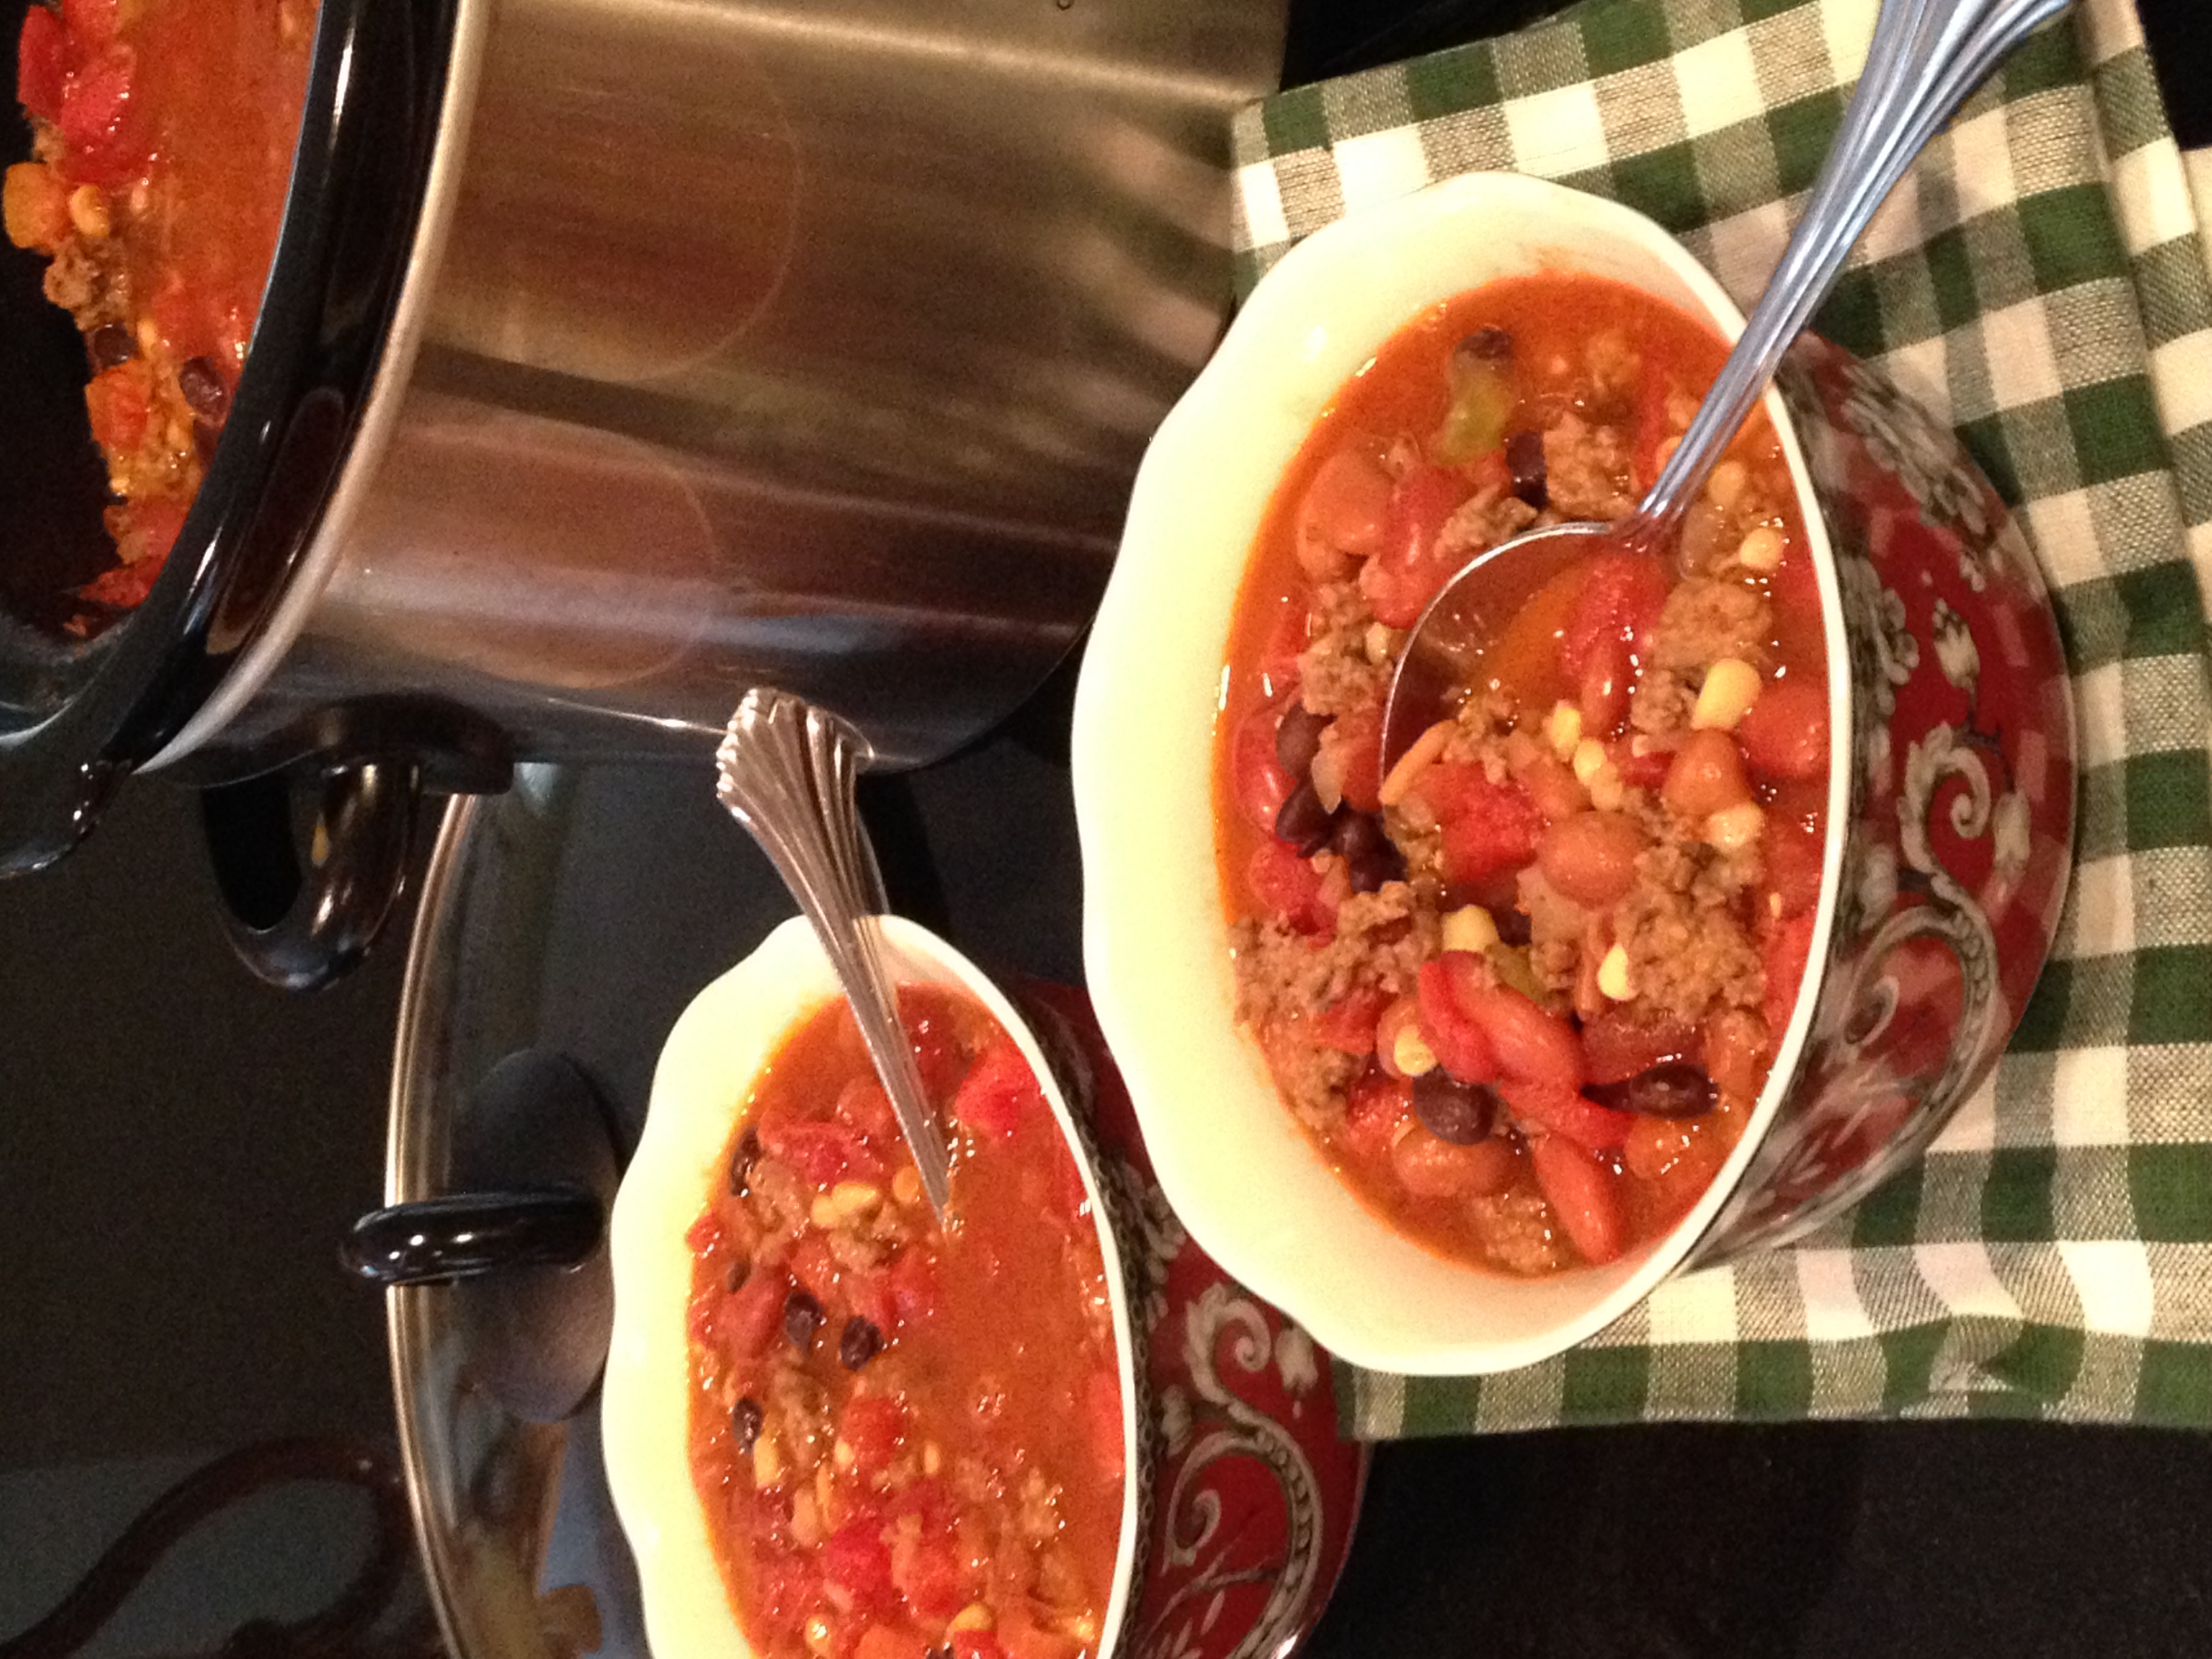
I bet you have a recipe for Taco Soup. This version is a blend of several recipes I have tried over the years. Being snowed in for 3 days, not used to this, I am making several kinds of soup. I will share the other recipes in other posts, one with hot turkey sausage, white beans and some spinach. I made the Taco Soup first because it is really easy and it takes no time to brown the meat and dump it all together in the crock pot. Hours later the house was smelling delicious and I was one “joyful cook” because dinner was done. Even if you don’t use this recipe get yours out and make a pot of Taco Soup. ( why do kids love anything taco?) I would love to hear your variations please leave a comment at the bottom of the post. Enjoy!
Optional: Top with sour cream, cheddar cheese and jalapeno.
It will be “The Best You Ever Made”
Taco Soup
Delicious and easy to make. Brown meat and put all ingredients into Crock Pot
2cansdiced tomatoesUse Fire Roasted tomatoes to make it spicy
1cancornDrained
1packageoriginal ranch dressing mix
1 mediumonionchopped
2cupswater
Method
Add ground beef and onion to skillet and cook until no longer pink.
Open and drain all the beans and corn
Dump in the crock pot, meat, beans, corn, and tomatoes
Add to crock pot, 2 cups of water and the dry mixes (ranch and taco).
Stir and cook on high for at least 2 hours–low heat for 4 hours
Notes
Serve with sour cream, shredded cheese and chopped jalapenosFreeze any left overs in freezer safe containers. Better still double the recipe and make sure you have some for freezing. Always a good thing to have lunch/dinner ready in the freezer. It will be “The Best You Ever Made” Enjoy!
When you learn this technique you will never dread chopping an onion again. The worst part will be the smell on your hands.
Tidbit Tip – Soap up your hands and rub them over a stainless steel sink or stainless steel bar the odor will be gone. This tip works for all odors give it a try!!!
The Blossom end of the onion and a sharp knife
Step 1: Cut off the Blossom End to make a flat surface for the next step.
Step 2: Place the onion flat side down and cut in half. I like to think of this end as the end looking like hair. One end the Blossom, One end the Hair.
Step 3: Cut the onion in half and peel.
Step 4: Place the onion flat side down and cut starting in the middle down the onion moving over to make the next cut till you have cut across the entire onion. Be careful not to cut through the end. You want it intact to hold the onion together for the next step. The wider the cuts the larger the size of your onion pieces will be. The closer the cuts the smaller the pieces. The next picture will show cuts all the way across and down the sides.
Picture of the cuts made across entire onion.
Step 5: Cut down through the cuts; again the closer you cut to the edge the smaller the pieces will be.
Picture of our chopped onion. Tidbit Tip: If a recipe calls for 1 cup of chopped onions you would chop the onion and then measure a cup. If the recipe calls for one onion chopped you would chop the onion and use the entire onion. The recipe will usually say what size onion to use like small, medium or large.
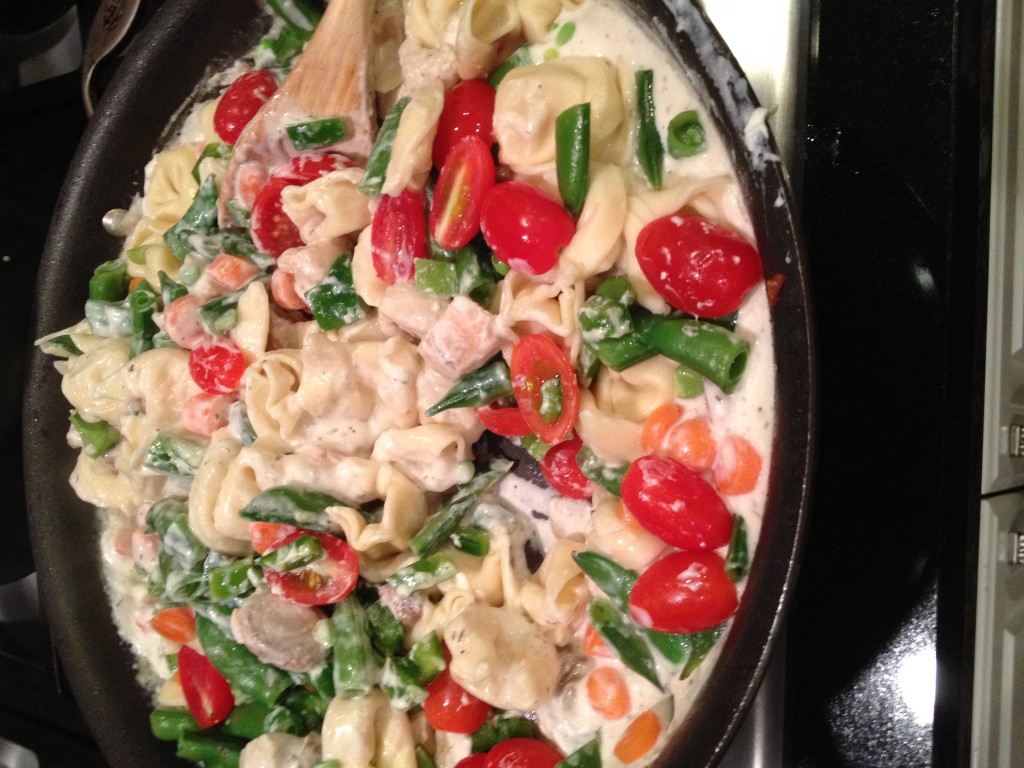
All the cold weather here in Atlanta makes me long for comfort food, but you can only eat so much pot roast and chili although we have had some great Southwestern Black Bean Chili. To the rescue is this delicious pasta casserole with garden vegetables and chicken. I love the sauce made with chicken broth, oregano, flour and other spices. Of course, you know I love sauces. I also like using low-fat cream cheese without affecting the taste or texture. This dish is so colorful with the cherry tomatoes and sugar snap peas. See below for difference between sugar snap peas and snow peas. If you don’t like these particular vegetables use ones you do like. I think this recipe is a good starting place for lots of variations of vegetables and even different filled Tortellini’s. What would you and your family like? Leave me a comment I would love to see what combinations you come up with. Let’s eat our veggies!!!
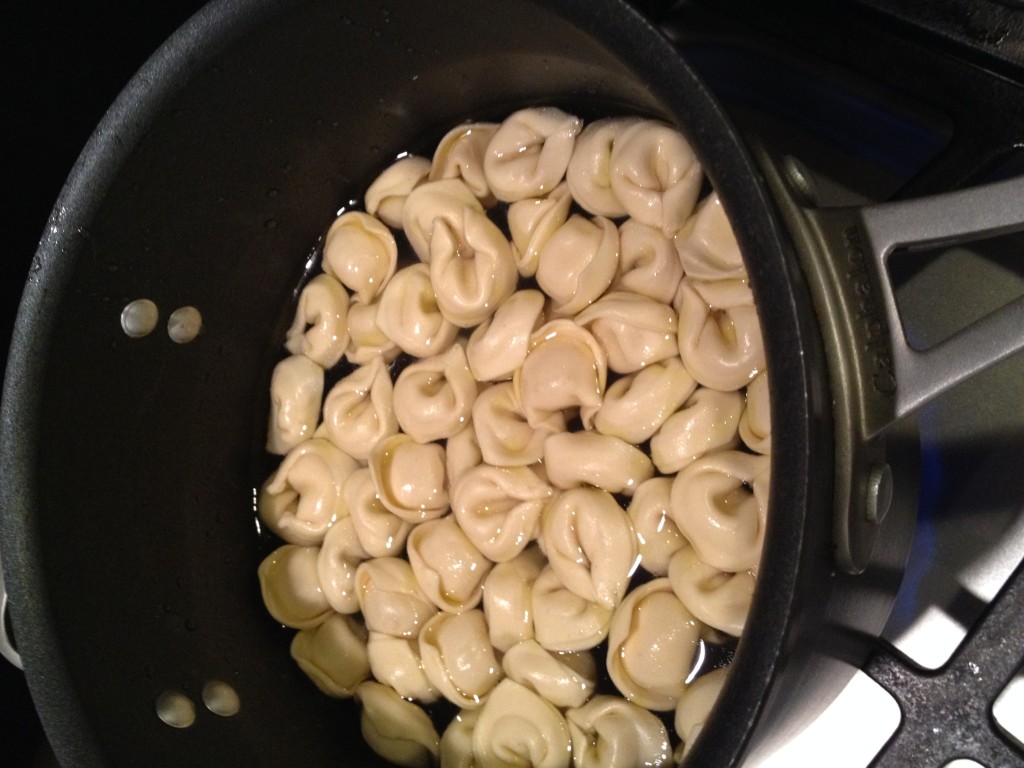
Tortellini in boiling water Add Ingredients mixed together before pouring into baking dish
“The Best I Ever Made”
Snow Peas and Sugar Snap Peas
Prepare to be confused till you are not-confused!!!
There are generally 3 types of green peas. The one we know best is the Garden Pea, probably one of the first things you ate as a child. Then the Snow Pea, used in Chinese food and the Sugar Snap Pea which is a combination of both developed by Calvin Lamborn in 1979.
Garden Peas – the ones of “eat your peas and carrots”. Their pods are rounded and full of large peas. Their pods are notedible; must be shelled and then the peas can be eaten raw or cooked.
Snow Peas – Chinese Peas —Their pods are edible and are flat, wide, flexible and bend easily. They are not shelled, they are eaten whole, raw or cooked. The peas are very small and appear as tiny bumps that can be seen through the thin skin. They are most often used in Chinese stir-fry dishes.
Sugar Snap Peas – the combination of Garden Peas and Snow Peas –Their pods are edible; they do not need to be shelled but can be. The peas are large and sweet and can be eaten raw or cooked. Their shape is similar to a traditional garden pea pod fat and rounded.
The bottom line is you can use either Snow Peas or Sugar Snap Peas in this recipe. I prefer Sugar Snap Peas, but hey you may want roasted broccoli now that sounds good!
Tortellini and Garden Vegetable Bake with Chicken
Delish pasta casserole with garden vegetables and optional chicken
10ouncesdried or two 9 ounce packages of refrigerated cheese-filled tortellini
1poundboneless skinless chicken breast cut into small pieces
1carrotsliced
1.5cupssugar snap peas
1cupmushrooms, sliced
1green or red bell pepper, chopped
1cupcherry tomatoes, quartered
Cream Sauce
1tablespoonbutter
1/3cupchicken broth
2 teaspoonsflour
1cup milk
8ouncescream cheese, softened
2tablespoonsoregano
3/4teaspoongarlic salt
1/2teaspoonpepper
1tablespoonlemon juice
Topping
2tablespoonsParmesan cheese
Method
Cook the tortellini in boiling water
Add sliced carrots during the last 5 minutes and the sugar peas during the last 1 minute; then drain
Sauté the chicken and mushrooms in butter in a skillet for 5 minutes until done, then remove from pan.
Cream Sauce
Whisk chicken broth, flour, oregano, garlic salt and pepper with milk in the skillet. Cook until bubbly, stir in the cream cheese until smooth, and remove from heat and add splash of lemon juice
Combine Cream Sauce with chicken and vegetables
Toss the tortellini, vegetables, chicken, and sauce together.
Transfer to a 13X9 inch baking dish
Bake covered at 350 degrees for 30 to 35 minutes, uncover, sprinkle with Parmesan cheese and serve.
Notes
Try different vegetables, whatever you have on hand.Make it vegetarian by leaving out the chicken. Enjoy! It will the “Best You Ever Made.”